Plants Get Thirsty Too! How watering plants can teach new skills

This post may contain affiliate links; please see our terms of use for details.
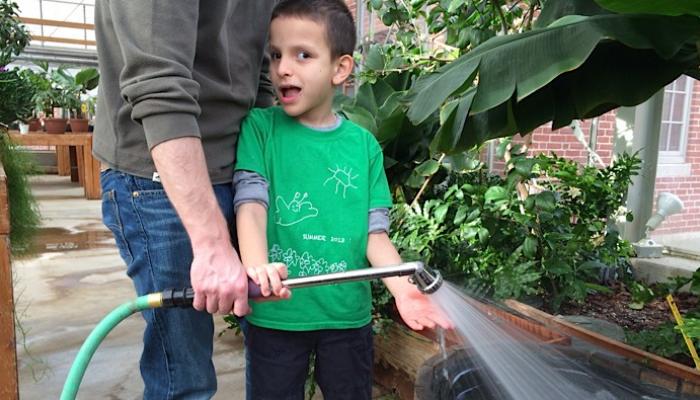
Spring is in the air and we’ve already got some seedlings growing in the house for our garden. Ivan helped to plant the seeds and is now helping us water them and keep them in the sun.
Involving your child with special needs in all aspects of your garden can help them feel important and teach them how plants develop and grow. If you’re planting vegetables they can also learn where food comes from and enjoy the veggies when they are ripe!
In this article I wanted to cover the basics of watering.
What… watering? How hard can that be?
Not hard at all, but have you thought about the best way to introduce watering? The materials you might want to use? Or how best to teach your child with a visual impairment that a plant has had enough water?
I spoke to Deborah Krause, Horticulture Therapist and Coordinator at the Thomas and Bessie Pappas Horticulture Center, about watering. Her advice is below.
Getting Started
Begin by thinking about the best tools for the job. Watering cans come to mind, but if your child is blind watering cans can actually be a tough nut to crack. The water goes in the (often small) opening at the top of the can then you tip it to have the water come out a completely different (even smaller) opening that is kind of far away from your hand. You have to reach to feel the water and the plant… and it’s easy to miss your target!

So let’s start simple:
- If your child is in a wheelchair and it’s hard to get to the plants to water them, bring the plants to your child. Potted plants are mobile and a good place to start when you’re just learning how to water.
- Use a tray with a lip to catch overflow water. Making a little bit of a mess while watering is fine… but if you can prevent a soaking that’s good too! APH makes nice Work Trays or you can look for plastic Cafeteria Trays. When choosing colors, try to pick something that will contrast with your potted plants for kids with low vision.
- Who said plants need cold water? Use warm water. It’s nicer for you, your child… and I bet the plants will appreciate it too!
- Instead of using a traditional watering can, start with a big bowl and a small container. Pick something out of your recycle bin, like a plastic honey bottle or small travel container. Have your child dip the container in the bowl of water to fill it then water the plants that way. This makes it much easier for your child to feel the water filling in the container, know how much water there is and where it is going. They have more control and a better understanding of what they are doing. Containers with smaller openings will take a little longer to fill, which can be fun to experiment with (Which container fills faster? Which one empties faster?) and you’ll also get the fun effect of bubbles releasing from the opening while you fill it!
- Another option is a squeeze bottle. These are harder to use and take a lot of practice, but they can be great for developing hand strength too!

Watering Tips
- Teach your child to count how long they are watering. If they are using a small container, count how long it takes to fill and then count how long it takes to water your plants. If they are using a squeeze bottle, count how many squeezes each plant needs.
- If you’re watering multiple plants at once, be sure to space them so your child can see or feel where one plant ends and the next begins.
- You know your plant has had enough water when you see drips coming out the bottom of the pot. Start with small pots that your child can pick up. Listen for those drips on the tray. When you hear the drip-drip-drip you know you’re done!
- Generally house plants don’t like to get their leaves wet. Wet leaves can lead to mold or other diseases, so try to teach your child to water the soil and keep the leaves dry.
- Want to try something different? How about a plant set in stones rather than soil? You can pick up some aquarium gravel and plant bulbs, like paper whites, in the gravel. Place them in a container that does not have holes in the bottom and fill with water. “Flush” the water daily by running new water in and letting the old water flow out. These are especially fun to do in clear pots so you can see the roots growing through the stones.
- Remember, water is heavy, so use small bowls and small containers.
- Be patient and generous in your praise. You’re not teaching your child to water professionally, this is just a fun experience!


Want to Get Fancy?

If you find that your child is really into this planting and watering thing, you might want to consider creating your own plant station!
By placing smaller trays within bigger trays you can create work stations where your soil is on one side and your pot on the other. Fill the pot with soil (or stones), set your bulb in the soil and water using a small bowl. You can see in the picture to the right that this could be relatively easy to put together and now your child has a very defined space where they are working.
Another option is to bolt two cafeteria trays together with a couple inches of PVC in between. Cut holes in the top tray to make slots for your pots and bowls. A work station like this would take more effort (and you’d need access to some tools) but now your pots and bowls can’t get away from you!

Related Posts

Math and Science
4 Weather Activities for Preschoolers
Whether the weather is sunny, cloudy, windy or rainy check out these educational weather activities for preschool that your children will love!

Holiday Crafts and Ideas, Math and Science
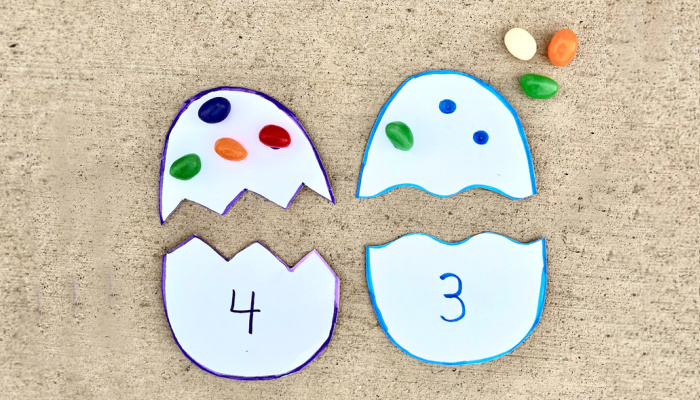
Easter Egg Number Matching Game
Counting has never been more fun than with this Easter Egg Number Matching Game. This game is easy to assemble and will surely be a hit with your little one!

Math and Science, Sensory Activities
Exploring Nature: 5 Outdoor Learning Activities for Preschoolers
Looking for things to do outside with your preschooler? These ideas for outdoor learning are easy, inexpensive, informal, and best of all, fun!