Using Origami to Teach Blind and Low-Vision Students Basic Shapes
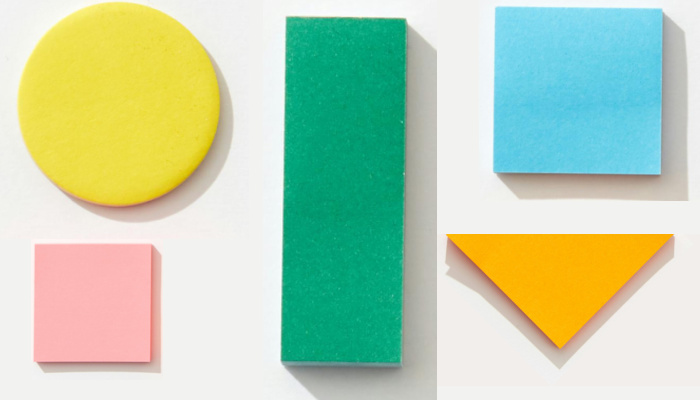
If, like me, you have wondered why it is important for young students to learn about shapes, here are just a few reasons. Teaching shapes in early education provides children with a strong foundation for future learning and development:
- Spatial Reasoning: Shapes are fundamental building blocks of the world. By learning to identify and understand shapes, children develop a better sense of spatial relationships and can navigate their environment more effectively.
- Problem-Solving: Recognizing shapes can help children solve puzzles, understand patterns, and develop critical thinking skills.
- Mathematical Foundation: Shapes are the basis of geometry, a branch of mathematics essential for understanding concepts like measurement, area, and volume.
- Language Development: Learning shape names expands children’s vocabulary and helps them communicate their ideas more clearly.
- Real-World Applications: Shapes are everywhere in our daily lives, from traffic signs to toys to buildings. Understanding shapes helps children make connections between their learning and the real world.
By introducing shapes at an early age, we are providing children with a strong foundation for future learning and success.
As child development expert Jennie Ito explains:
From octagonal stop signs and rectangular doors, to triangular roofs and circular wheels—shapes are everywhere. Learning shapes not only helps children identify and organize visual information, it helps them learn skills in other curriculum areas including reading, math, and science.
Apart from the above, which applies in general, it becomes ever more important for young blind children to be exposed to and learn about basic shapes in both incidental and structured environments.
In a world where electronic devices have become a part of our daily lives, visual information is becoming more available to those without sight. Examples include emojis with their text equivalent on our phones, alt tags and image descriptions on web pages, apps that use AI to describe objects and scenes to us, and the newest tactile graphics devices that can help us feel images under our fingers.
To make use of the opportunities these developments will provide, blind people will have to be able to understand and interact with visual content more frequently and in new ways. It is therefore critical that children who are blind or have low vision should be exposed to 2D as well as 3D shapes and concepts on a practical level and at a young age.
Of course, there are plenty of ideas for teaching shapes, from formal lessons to learning by playing with blocks or through an app on a phone. However, using paper as a simple, cost-effective tool, the ancient art of origami is an excellent way to help with hands-on learning of the basic shapes.
Basic Shapes in Paper Form
Children will eventually learn many types of shapes, but the first shapes are most commonly identified as circles, squares, rectangles, and triangles. Origami lends itself well to teaching the latter three in particular.
The Rectangle
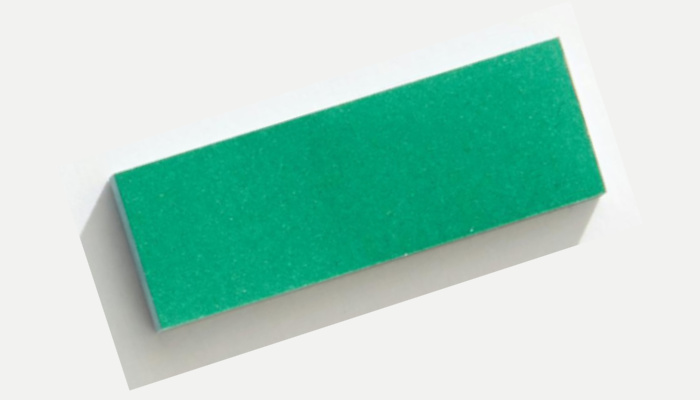
The rectangle is the most recognized form in which we find physical books and sheets of paper today. It’s important that children learn from early on that a rectangle has four sides but that two opposite sides are the same length.
Hand in hand with this goes the concept of landscape and portrait orientation, which may be obvious in a visual context, but not to a totally blind child.
A simple phrase often used in this regard is to fold a rectangular sheet in half hamburger or hot dog style. Though this may be helpful, children should learn the proper words to describe the long sides, the short sides, up and down, left and right, top and bottom.
Here, already we are dealing with some very basic spatial, language, and cognitive concepts on a practical level.
At a later stage, the concepts of vertical and horizontal may be introduced by telling your child to make a fold that will produce a vertical line. Your child will need to understand that the vertical line will run from top to bottom in front of them. In fact, producing straight lines by folding paper is a great alternative to producing tactile graphics, especially in early learning.
The Square

Most origami figures start from a square, so one of the essential things to know for a parent or teacher (and later your child) is how to make a square from a rectangular piece of paper.
Instructions are available on Access Origami or can be searched for on the Internet.
Alternatively, squares may be cut from a template or can be cut at a stationery or similar shop. Learning to distinguish between rectangles and squares can be done using paper folding in various ways. For instance, a square folded in half from side to side will produce two rectangles that are the same size.
The Triangle
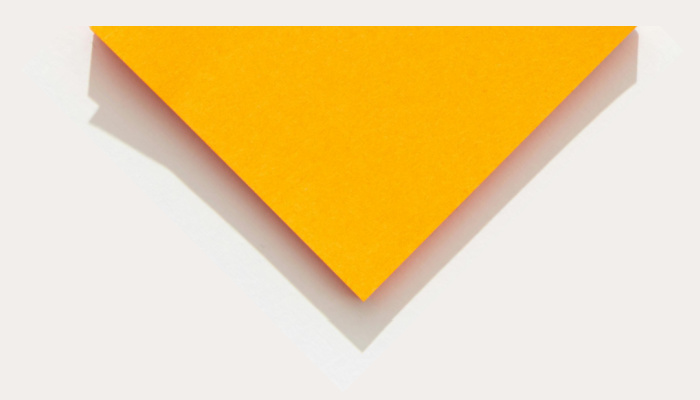
This brings us to our third shape, the triangle.
When we divide our square in half diagonally, we have two triangles of the same size. We are already working on some basic spatial and geometric concepts.
Basic shapes should be thought of as more than math concepts. It is no coincidence that some of the first things sighted children draw may be the house, comprising a square with a triangle above it.
Two Simple Origami Projects That Teach Basic Shapes
These activities can be used by parents or teachers and may be adapted for a class setting or as a rainy day activity at home.
1. The Card
Even though this project involves only one fold, it teaches various concepts regarding basic shapes.
What you will need:
- A rectangular sheet of construction paper or thin cardstock of copy or A4 size (paper with unusual textures may make the card more interesting)
- Glue or glue tack (glue tack is a good alternative since it is less messy and removable)
- Embellishments like pompoms, mosaic tiles or stickers, pieces of foam cut into squares and rectangles
Step 1
First, ask your child to place the unfolded rectangle flat on a table. We can ask questions such as:
- How many sides does it have?
- Where are the short sides and the long sides?
- Where are the corners and how many are there?
- How should we place it to make a card?
- Is the surface smooth or are there any lines on the paper?
Once the concepts have been discussed, it is time for action!
Step 2
With the above in mind, our card is now created by folding the left, short edge over to meet the right, short edge. Consider that this simple fold may not be easy for a very young blind child.
Yet, in this one fold many concepts and skills are learned in a practical way without your child even realizing it.
In order to bring the sides and corners together, then anchoring the paper with one hand while making the fold with the other, a myriad of skills come into play.
Just think of the tactile discrimination and fine motor movements needed to locate and match up edges and corners, hold down the paper so it does not move, press down hard enough to make a crease, and more.
Step 3
Once the fold is made, the new “object” may be discussed, and decisions may be made on how to decorate and write on the card in braille or print.
We can ask questions like:
- How many layers of paper do we have now?
- Where is the front and back of the card?
- How should it be held?
- Where is the inside of our card?
To decorate, smaller shapes could now be folded or any other embellishments may be added. Another option would be to add a braille pattern or drawing to the card.
2. The House
What you will need:
- A sheet of construction paper or thin cardstock of copy or A4 size
- Two note squares or paper cut to around 4 x 4 inches or 10 x 10 cm
- Glue or glue tack
- Precut circles or shapes for the sun or clouds
- Embellishments like pompoms, mosaic tiles or stickers, pieces of foam cut into squares and rectangles
Step 1
The house can either be placed on a flat sheet, like a drawing, or it may be combined with the card project.
If you want to make a card, first follow the steps above, explaining the concepts around the rectangle as a basic shape. If a flat sheet is used, the rectangle can be explained in simple terms as well.
Step 2
Next, help your child place the first unfolded square onto the flat page or the front of the card. Explain spatial concepts like “the center” or “bottom” and placing the square “straight.”
Step 3
Now, fold the second square in half to make a triangle. As with the card, children can identify edges and corners and learn how to do the actual fold.
You could point out some or all of the following:
- Our folded triangle has two layers of paper
- There are three sides
- There is a base and a point
- There are two loose points and a closed, folded edge
Step 4
Keeping the above in mind, the folded triangle is now placed above the square. If necessary, children should be helped with the orientation and placement of the triangle, which may go hand in hand with explaining the concepts surrounding the roof of a house (for example, discussing why the roof is a triangle).
Step 5
Windows and a door may now be added. Think of which shapes to use, as well as placement and size.
Step 6
The sun can be added as a circle. Explain this concept as well, since it may not be obvious to young blind children. Talk about where the sun will be placed and why the sun is a circle.
These two activities (the card and the house) demonstrate only the very basic first folds that most people might not even identify as origami, but in fact, the book fold (from side to side) and the diagonal fold (from point to point) are the actual starting points for almost all types of origami. Completing activities like these will therefore not only teach basic shapes but is a way for children to start learning about paper crafts and origami itself.
If children seem keen or interested in learning more about origami, a search for “origami for kids” or something similar will provide lots of options for the parent or teacher to investigate.
Many sites have dedicated pages for origami and other paper crafts with ideas that will ensure that learning is practical and also lots of fun.
The Accessible Origami Project aims to make origami more accessible since, though it is a tactile art, instructions are most often provided in a visual format. Therefore, the tutorials on the site are extensive and text-based. Most models have a link that will lead a sighted parent or teacher to a place where some visual instructions may be found. As children learn to read and use assistive technology, they should be able to use the lessons on the website independently. There are currently around 160 tutorials for all skill levels.
Teachers, parents, or anyone interested are always welcome to contact me by emailing accessorigami@gmail.com.
Resources
- Leap Frog: Why is it important for kids to learn shapes?
- Access Origami: Making a Square from Rectangular Sheets
- Red Ted Art: Cute and Easy Crafts for Kids
- Access Origami
Related Posts

Eye Conditions and Syndromes, Visual Impairment
Neuralink Announces Plans to Restore Sight to the Blind with Brain Chip
Elon Musk’s company Neuralink has announced plans to begin human trials of its new “Blindsight” brain chip by the end of 2025.
Visual Impairment
The Gift of Understanding: How a Young Child Helps His Blind Father Navigate Life
When a parent is blind, it’s natural for people to wonder how their sighted child will adapt. Will they struggle to understand their parent’s needs? Will they feel burdened by...
Braille and Literacy, Toys, Visual Impairment
24 Braille Toys for Kids Who are Blind
Everything from alphabet blocks to raised line coloring pages and activity books to puzzles to card and board games... and so much more! And it's all in braille ready for...