Resurrection Water Color Craft
This post may contain affiliate links; please see our terms of use for details.
Our family is gearing up for Easter, one of our favorite holidays. Each year, we attend church together, eat an Easter dinner, and spend the day discussing Easter’s true meaning. It’s a special day we all look forward to.
As part of our homeschool curriculum, we also include lessons on the resurrection. I always like to include some crafts along with the lessons for some fun. Sometimes, we’ll make a special snack, like our Easter Resurrection Snack, and other times, we’ll do some painting or coloring.
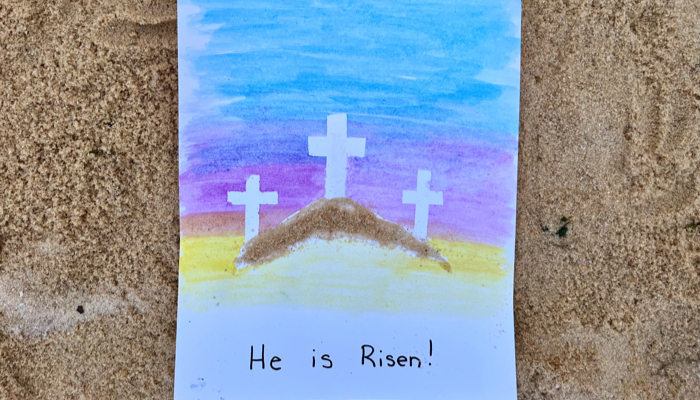
This year, I created a special painting that perfectly represents the reason for Easter. It was easy enough for my three-year-old to make but beautiful enough to interest my twelve-year-old. I call that a win!
If you want to make this beautiful Resurrection Water Color Craft with your kids, follow along. Having a nice watercolor set and watercolor paper is ideal, but you can make this using whatever you already have at home. This is a painting to hang on the fridge and enjoy all month long.
Resurrection Water Color Craft
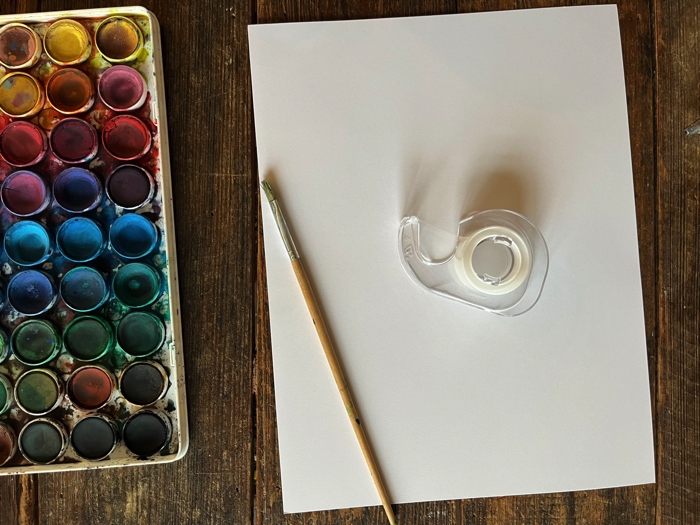
This craft uses tape as guidelines for the crosses. It’s so simple; it’s a watercolor craft that all ages can make and enjoy. Here’s all you’ll need to get started:
Materials:
- Watercolor paper
- White masking tape
- Watercolor paint
- Play sand
- Glue
Setup:
Clear off a table and cover it with a plastic tablecloth or placemat. You might even want your child to complete this outside since they’ll add sand to the painting. I’ve also found that using a painting apron is the best way to keep my kids’ clothes clean.
Create the Crosses
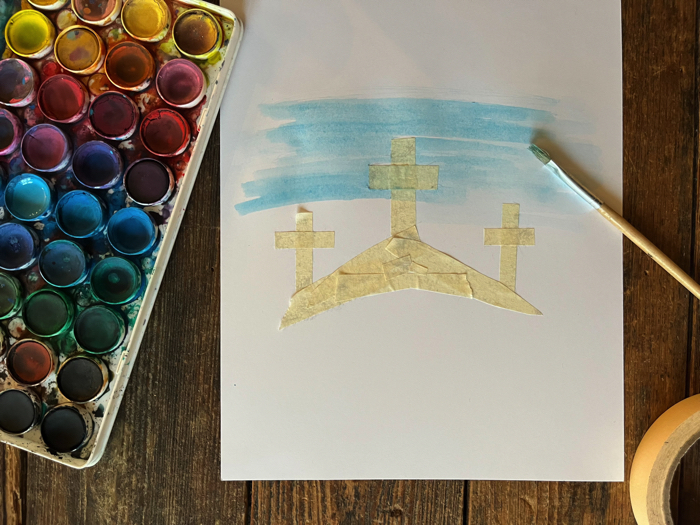
Take a small strip of masking tape and cut it in half lengthwise. Use this to create a cross shape on the paper. Repeat two more times to create three crosses in a row.
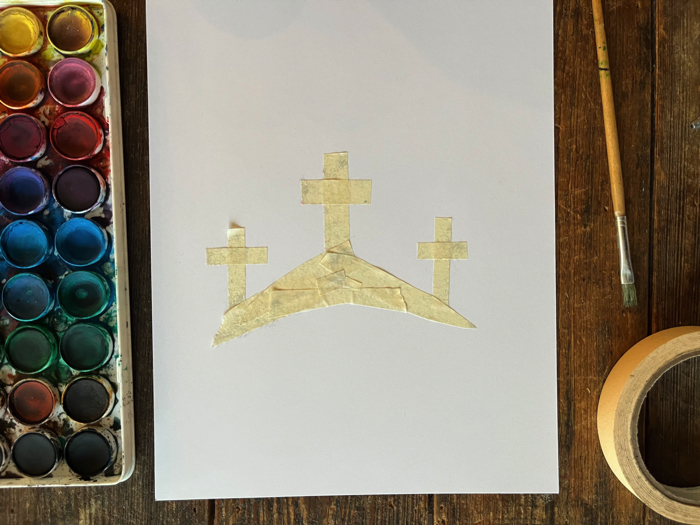
Your child will paint over the tape, leaving white crosses behind when you remove it. Be sure the tape is secure against the paper.
Helpful hint: The tape should peel off easily if you’re using heavy watercolor paper. If not, you’ll want to reduce the tape’s stickiness before applying it. Attach the tape to your clothing and peel it off to make it less sticky. Repeat twice, and then apply it to the paper. The tape should peel off without pulling up the paper with it.
Create the Hill
Take several pieces of masking tape and create a hill under the crosses. You can create curves by cutting a curve shape in the tape. This portion will also be painted over, leaving a white space to add the sand after the paint dries.
Time to Craft
Here’s how we created this Resurrection Water Color Craft
Step 1: Give your child a watercolor paint palette and show them how to paint over the tape. My kids and I practiced blending different colors to create a beautiful sky. This is an excellent opportunity to discuss how colors mix to create new colors.
This craft would also work with fingerpaints. Finger painting and painting with a brush are both excellent fine motor activities for preschoolers.
Step 2: Let the watercolor paint dry completely.
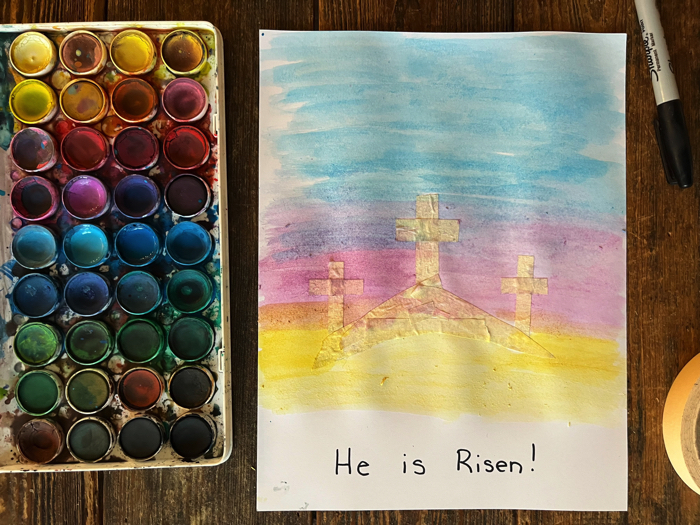
Step 3: Carefully remove the masking tape from the watercolor paper. Your child will love helping with this step, and it’s fun to watch the white crosses appear on the paper.
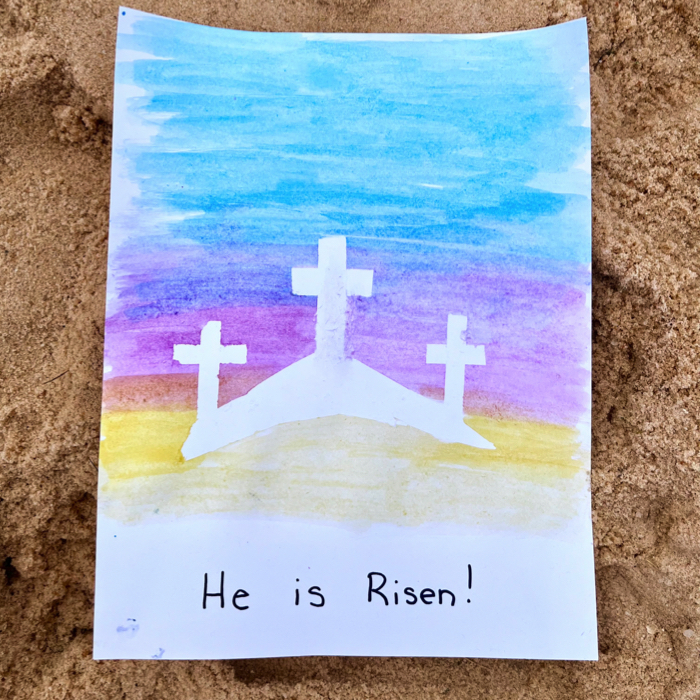
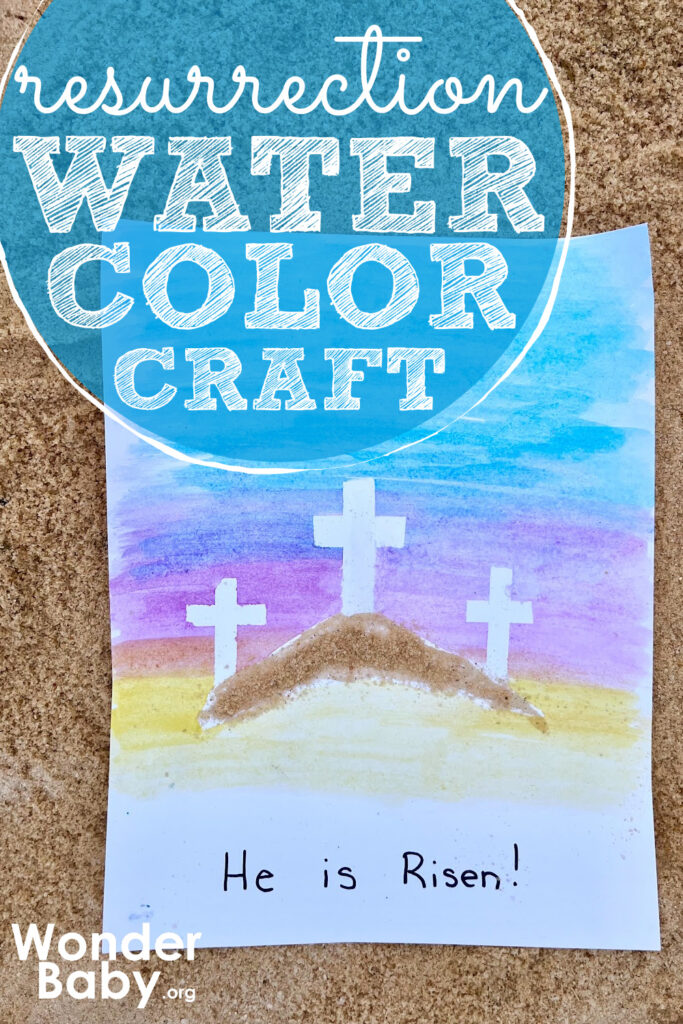
Step 4: Help your child add Elmer’s glue to the hill. They might need a paintbrush to help spread the glue.
Step 5: Sprinkle a small amount of clean play sand over the glue.

Step 6: Allow the glue to dry. Add the words “He is risen” to the bottom of the page.
Hint: You can create simple preschool literacy activities by having your child help you sound out words on art projects like this one. Even just discussing the beginning sounds of words will help your child build the foundational skills needed for reading.
Simple sight words like “he” and “is” are perfect for beginning readers to identify and spell.
Talk About It
This craft presents the perfect opportunity to talk about the meaning of Easter. Even the littlest learners can learn the story of Jesus.
As your child paints, talk about the painting. Here are some questions to ask to get the discussion started:
- Why are there three crosses?
- What was Jesus thinking of when he was on the cross?
- How do you think his friends felt watching him be crucified?
- What happened after Jesus was taken from the cross?
- Why is Easter a day of celebration?
- What does this painting make you feel?
You can also retell the Easter story using plastic Easter eggs like I shared in our Easter Resurrection Snack. The visual clues inside the eggs are perfect for little learners.
What else can I use to decorate this Resurrection Water Color Craft?
We used watercolor and sand to keep it simple. However, if you have a child who loves to add extra flare, try any of these:
- Easter grass
- Small craft flowers
- Glitter
- Foam alphabet stickers
Other Ways to Create this Resurrection Water Color Craft
There are other ways to create this painting without using tape. Here are three other ways to create the white crosses:
White Crayon
Instead of using tape to make the crosses on the hill, you can use a white crayon. To do this, take a white crayon and draw the crosses on the hill on watercolor paper. Be sure to press down firmly to create a waxy surface.
When your child paints over the crosses on the hill, they will magically appear.
White Construction Paper
Your child can also glue on white crosses after painting the backdrop. For this version, cut out three crosses from white construction paper. Once your child has painted a piece of watercolor paper, glue the crosses on top.
Tactile Crosses
Tactile input helps children create new pathways in their brains as they gain information about the world around them. Tactile crafts can benefit all children and are accessible to children with visual impairments.
One simple way to make tactile crosses is by using foam paper. Take white foam paper and cut out three crosses. Glue these onto the hill.
Gluing sand on the hill will enhance this sensory-rich craft. You might also want to add Easter grass around the hill to create another layer of tactile input. Providing a variety of textures will enrich the sensory experience.
What skills does this craft help develop?
Your child will not only have fun making this craft, but they’ll also strengthen important skills. Here are a few skills your child will strengthen through this creative project:
Fine Motor Skills
- 【KIDS PAINT BRUSHES SET】Anezus paint brushes for kids come with 10 pcs paint brushes of 5pcs round paintbrushes and 5 flat paint brushes with colorful handles, good for the young artist to explore their creativity in painting and crafting
- 【HIGH QUALITY PAINT BRUSHES FOR KIDS】These toddler paint brushes made of soft hog bristle, bright colored handles and rust proof ferrules. The bristles are firmly fixed in the kids paint brushes and no shedding. Each children paint brush measure 6 1/4 inches (16cm) in length and ferrules 1/2″(1.3cm) diameter, large enough for the little hand to grip and control
- 【WIDE APPLICATIONS】With combination of round and flat craft paint brushes for kids, work great with washable paint, tempera paint and acrylic paint. Great for arts and craft, rock, leather, gesso and ceramic, or body, nail and face art painting.
- 【EASY TO CLEAN 】After using paint brushes for acrylic, oil or watercolor painting, it’s very convenient to clean them with warm soapy water and reshape the paint brush tips. Keep these craft paint brushes clean and they last a long time.
Little hands often need help grabbing pencils and holding brushes. This is because it takes much skill and coordination. The small muscles in their hands must be strong enough to grasp, pull, and push the paintbrush across the paper.
Fine motor skills are responsible for activities like writing, painting, and cutting. Any chance your child has to practice using these muscles will prepare them for kindergarten. If your child has difficulty holding the paintbrush, consider trying a chubby paintbrush instead.
Creative Skills
Children need opportunities to express themselves through art. Give your child the chance to explore colors, textures, and patterns through art projects like this one. Your child will gain confidence as they create pieces that make them proud.
Language Skills
Simple language activities for preschoolers can be created while playing or crafting. If you’re looking to support your child’s stages of language development, use opportunities like this to get them talking. Try working on sounds and vocabulary by using these questions:
- How many crosses are there? Let’s count together.
- What is your favorite color to paint with?
- Can you tell me about this painting?
- What does the sand feel like?
What other ways can I enrich this activity?
- Amazon Kindle Edition
- Sproul, R.C. (Author)
- English (Publication Language)
- 44 Pages – 03/16/2012 (Publication Date) – Ligonier Ministries (Publisher)
As you celebrate Easter, consider including some of these Easter-themed activities:
- Have fun with one of these glowing Easter egg activities
- Read the book The Donkey Who Carried a King by R.C. Sproul
- Decorate tactile Easter eggs and have an Easter egg hunt
- Practice number skills with this Easter egg number-matching game
Related Posts
Holiday Crafts and Ideas
Should Parents Lie to Their Kids About Santa Claus?
Should parents lie about Santa? Find out how to balance trust, magic, and holiday traditions right here!
Holiday Crafts and Ideas, Special Needs
5 Tips for a Peaceful Thanksgiving with Your Child with Disabilities
Thanksgiving can be a joyful yet overwhelming holiday, especially for families with children who have sensory, motor, or dietary needs.
Holiday Crafts and Ideas
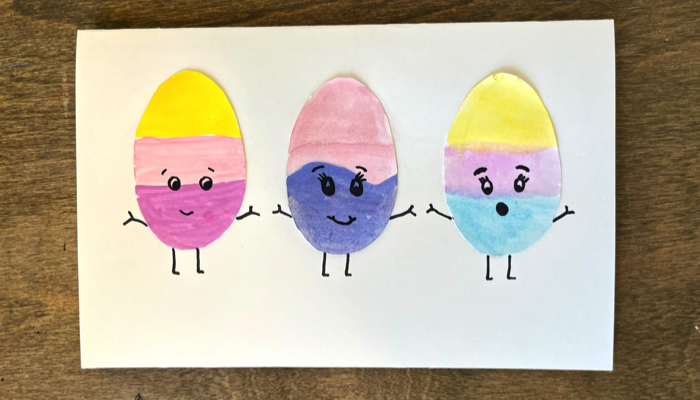
Easter Egg Greeting Card Craft
Turn your child’s painting into an adorable Easter Egg Greeting Card Craft. With just a few supplies, you can create this fun surprise to send to friends and family.

