Easy Kinetic Sand Recipe
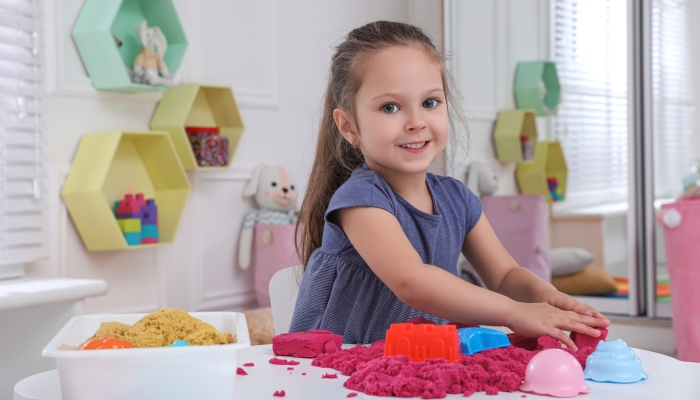
- A homemade kinetic sand recipe uses a few simple ingredients as it transforms into soft, moldable sand.
- Kinetic sand differs from regular sand because it is coated in silicone oil versus water.
- Since kinetic sand is made with oil and not water, it won’t dry out.
- Kinetic sand is great for sensory play, including helping develop fine motor skills.
My children love playing with kinetic sand, and I was excited when I learned how easy it is to make our own. While buying it at the store doesn’t break the bank, sometimes it’s more fun to do things yourself, especially when you can get the kids involved.
The best DIY kinetic sand recipe uses few ingredients and takes minutes to make. The good news is you likely have all the ingredients on hand, which will save you from running to the store.
Take a look at how to prepare, prep, and play with kinetic sand with this easy recipe.
What to Prepare
One of the coolest things about kinetic sand is that it has the same properties as wet sand, except it’s not wet. (Mind blown, right?)
While it sticks to itself, it’s not sticky. I also find it makes less of a mess than regular sand, making for easy cleanup.
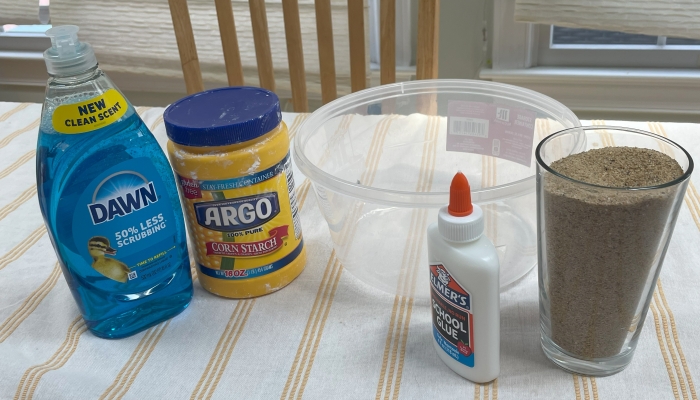
Here’s a look at the ingredients and materials you’ll need to make DIY kinetic sand:
- 1 cup play sand (You can find it cheap at Home Depot or Lowes.)
- 2 teaspoons cornstarch (or flour)
- 2 teaspoons dish soap
- ½ cup glue
- Food coloring (optional)
- Large mixing bowl or dish
- Cookie cutters
Some kinetic sand recipes call for oil (such as vegetable oil, baby oil, or olive oil); one is usually preferred over the other. You have to play around with the recipes to find out what works best. (The things we do for our kids!)
I bought the 50 lb play sand from Lowes because I plan to make sensory bins with the extra. It’s also less than $8 for that big bag, and I couldn’t see the point in spending more for a smaller amount.
Note: Some stores sell colored sand, so you wouldn’t need food coloring, which will save time if you want it colored.
DIY Kinetic Sand Recipe
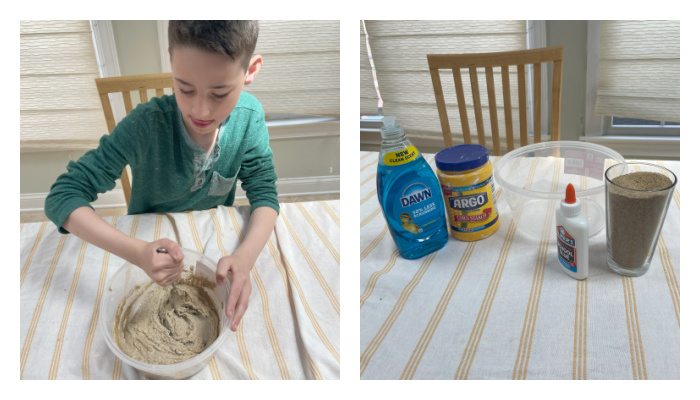
It’s easy to make kinetic sand, but you want to ensure you have the necessary materials before you begin. There’s nothing like starting a craft and realizing you’re missing something important.
If you don’t have cornstarch, you can substitute flour. Also, your kinetic sand should have a soft and crumbly consistency but hold its shape if you squeeze it.
One of the most important things to remember is to keep your sand dry; otherwise, you won’t get ideal results.
Now, let’s look closer at the step-by-step instructions for making kinetic sand:
- Pour your play sand, cornstarch, and dish soap into a large bowl.
- Stir the mixture with a spoon until the ingredients are thoroughly combined.
- Add the glue little by little, ensuring you mix thoroughly.
- Knead the mixture as necessary until you get the right consistency.
That’s it! It seems too good to be true, but this craft won’t take up your whole Saturday.
If your child has fun making kinetic sand, try our easy oobleck recipe next time!
Tips for Perfect Kinetic Sand

While making kinetic sand is relatively straightforward and fun, you should consider a few things to ensure you make the perfect recipe.
Here are a few tips for making homemade kinetic sand:
- The drier the starter sand, the better.
- Add a little water if the mixture is too thick.
- If your kinetic sand is too wet, add a bit more cornstarch.
- Store leftover kinetic sand in an air-tight container.
- Test for moldability by squeezing it with your hands.
- Clean your kid’s hands before playing to avoid contaminating the mixture.
As a mom tip, I use my dust buster to clean up sand that makes its way to the floor. My kids don’t want to play with kinetic sand mixed with dog hair and last week’s dinner. (Well, maybe they don’t care, but I do.)
You can also create a sensory corner so your kids have a designated area to do crafts and other activities.
Sensory Play Ideas
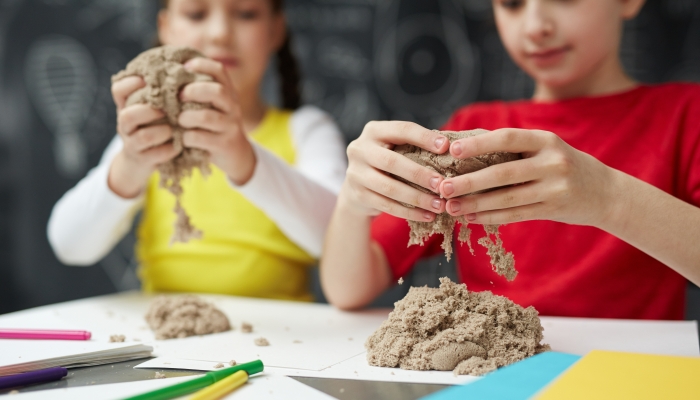
DIY kinetic sand is excellent for working on fine motor skills, especially with little hands. According to Michigan State University11. Moyses, K.. Building Fine Motor Skills and why it matters. MSU Extension. 2016. https://www.canr.msu.edu/news/building_fine_motor_skills_and_why_it_matters, fine motor skills lay the foundation for everyday tasks, including tying shoelaces, holding a pencil, and using utensils.
In addition, making kinetic sand is one of the best indoor activities for toddlers, providing hours of playing time and sensory fun.
Here are some suggestions for sensory play activities when you make kinetic sand:
- Lay the kinetic sand on a baking sheet and use cookie cutters to make various shapes.
- Discuss the texture of kinetic sand and ask your child what it feels like as they touch the mixture.
- Hide toys in the kinetic sand and have your child go on a scavenger hunt.
- Turn kinetic sand into a Mr. Potato Head.
- Practice writing letters by using a pencil in the kinetic sand.
- Use letter stampers to practice spelling words.
- Mold kinetic sand into geometric shapes.
- Turn kinetic sand into slime.
My kids loved pushing the kinetic around and seeing what they could create and build, so don’t be afraid to let your kids explore their imagination with kinetic sand. You may want to visit the dollar store and get construction trucks and other toys for your kids to play with.
Benefits of Kinetic Sand

Kinetic sand is one of my favorite kids’ activities because it’s easy to clean, inexpensive, and can occupy my kids for hours.
Parents and caregivers can help encourage children22. Kinetic Sand. Access and Inclusion Model. https://aim.gov.ie/resources/kinetic-sand/#:~:text=Kinetic%20sand%20is%20particularly%20beneficial,of%20sensory%20experiences%20for%20children. to explore the sand, supporting language and communication development as you follow your child’s lead.
Several benefits of playing with kinetic sand include:
- Sensory awareness
- Social and emotional development
- Creativity and imagination
- Physical development
- Stress relief
In addition to these fantastic benefits, it’s easy to clean, mainly because it doesn’t stick to surfaces. Plus it’s safe and non-toxic!
FAQs
What can I do if my DIY kinetic sand turns out to be too sticky or dry?
Generally, kinetic sand doesn’t dry out unless it’s very humid or dry where you are. However, if it gets too dry, add a few drops of water. Alternatively, if it gets sticky, you’ll want to add more sand or cornstarch to your solution.
Is a homemade kinetic sand recipe safe for children with allergies to certain ingredients?
You should always check the sandbag’s ingredients to ensure it doesn’t contain your child’s allergens. However, in addition to being non-toxic, it’s generally allergen-friendly, making it a great activity to play with.
How long does homemade kinetic sand last before it dries out?
The life span of kinetic sand generally depends on how you store it and the environmental conditions where you live. While you can’t control the environment, you can store kinetic sand in an airtight container with a lid in a dry place to prevent moisture from affecting it.
Kinetic sand isn’t prone to drying out, but humidity can affect its texture. In addition, the more your kids use it, the more it’s exposed to air, which increases the potential of drying out.
References
- Moyses, K. (2016, June 14). Building Fine Motor Skills and why it matters. MSU Extension. https://www.canr.msu.edu/news/building_fine_motor_skills_and_why_it_matters
- Kinetic Sand. Access and Inclusion Model. (n.d.). https://aim.gov.ie/resources/kinetic-sand/#:~:text=Kinetic%20sand%20is%20particularly%20beneficial,of%20sensory%20experiences%20for%20children.

Related Posts
Braille and Literacy, Toys, Visual Impairment
24 Braille Toys for Kids Who are Blind
Everything from alphabet blocks to raised line coloring pages and activity books to puzzles to card and board games... and so much more! And it's all in braille ready for...

Holiday Crafts and Ideas
Should Parents Lie to Their Kids About Santa Claus?
Should parents lie about Santa? Find out how to balance trust, magic, and holiday traditions right here!

Holiday Crafts and Ideas, Special Needs
5 Tips for a Peaceful Thanksgiving with Your Child with Disabilities
Thanksgiving can be a joyful yet overwhelming holiday, especially for families with children who have sensory, motor, or dietary needs.