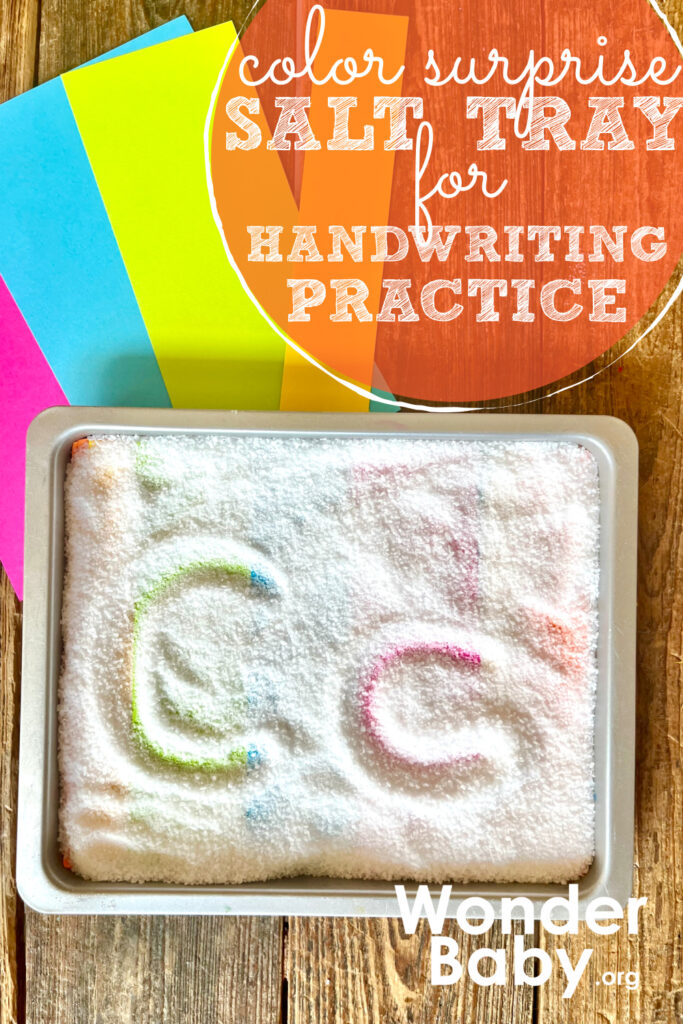
Color Surprise Salt Tray for Handwriting Practice
This post may contain affiliate links; please see our terms of use for details.
Somewhere between the ages of two and four, children often begin experimenting with lines and shapes. With guidance, these lines and shapes will soon become letters. Once a child grasps how to form letters, it won’t be long until they experience the thrill of writing their name and making words.
My three-year-old is right around the corner from writing all six letters of her first name. With each letter she learns, she grows more eager to write it herself. Though she’s yearning for complete independence, she still needs practice.
Getting a three-year-old to sit and practice handwriting is not an easy task. All too often, parents buy workbooks and writing utensils only to find that their child refuses to use them. Suddenly, what should be a joyous achievement is now a dreaded assignment.
Handwriting practice does not need to be a dreaded experience. With a little imagination, you can create preschool handwriting activities that feel more like play than practice. This Color Surprise Salt Tray for Handwriting Practice will provide all the fun you need.
You’ll only need a few supplies, and you’ll have a grab-and-go tool you can use for other preschool literacy activities as well!
Color Surprise Salt Tray: What You’ll Need

You’ll only need four items to create this salt tray. This tray might seem too basic to be valuable. However, you’ll be surprised at how well such a simple tool works for literacy skills.
Materials:
- Wooden tray (Or a cardboard lid to a box)
- Salt (Basic table salt works great)
- Cardstock paper
- Glue (Elmer’s, Tacky Glue, or Modge Podge)
Setup:
To build the salt tray, follow these simple steps.
Step 1: Select Tray
Select a wooden tray or the lid of a cardboard box. I have used lids from old photo boxes, and those worked just fine. We’ve also used shoe boxes or cereal boxes in a pinch.
If you want the tray to last longer, I recommend investing in a wood or metal tray. I’ve found that our salt tray gets pulled in and out of the homeschool cabinet often, so I recently switched to a metal tray to keep from having to repair it.
Step 2: Measure and Cut
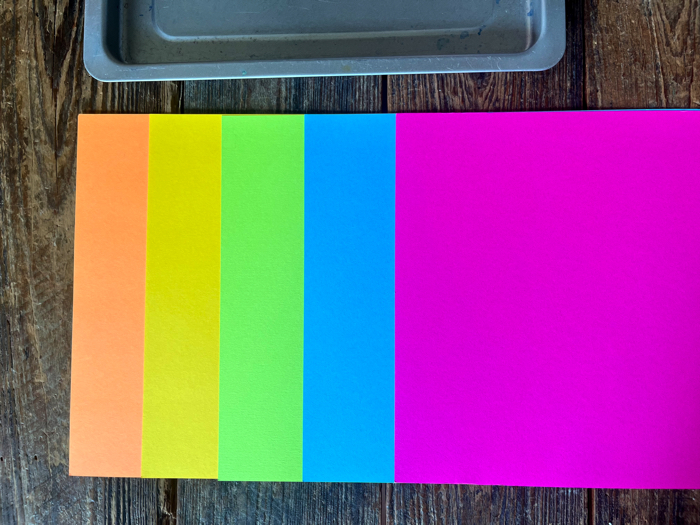
Measure the tray and cut the scrapbook paper into long strips that will fit in the bottom. You’ll lay these strips side by side at the bottom of the salt tray to create a color surprise. Decide how you’d like to arrange the colors.
Step 4: Lay and Glue
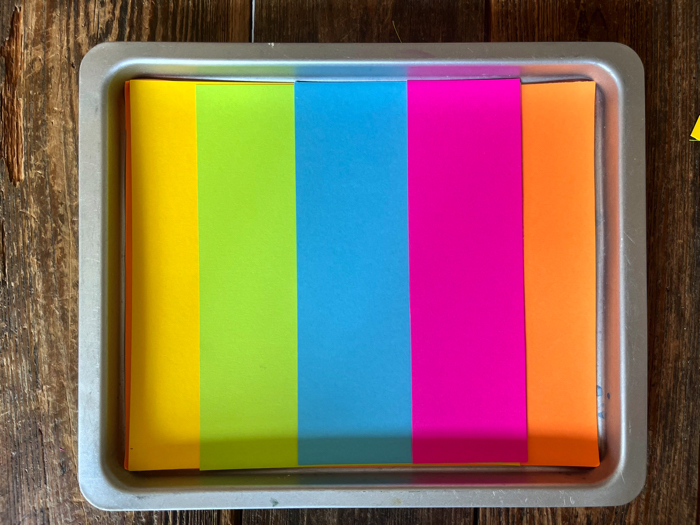
Lay the strips on the tray and glue them on the bottom. Elmer’s glue will work fine, but something like tacky glue or Modge Podge will work better.
Step 6: Modge Podge (Optional)
After the strips have dried in place, Modge Podge over all of the strips to make them last longer.
This step is completely optional. If you aren’t worried about the strips wearing down over time, just leave them as is. You might even choose not to cover them with Modge Podge if you want to change the theme or colors of the tray occasionally.
Step 7: Fill with Salt
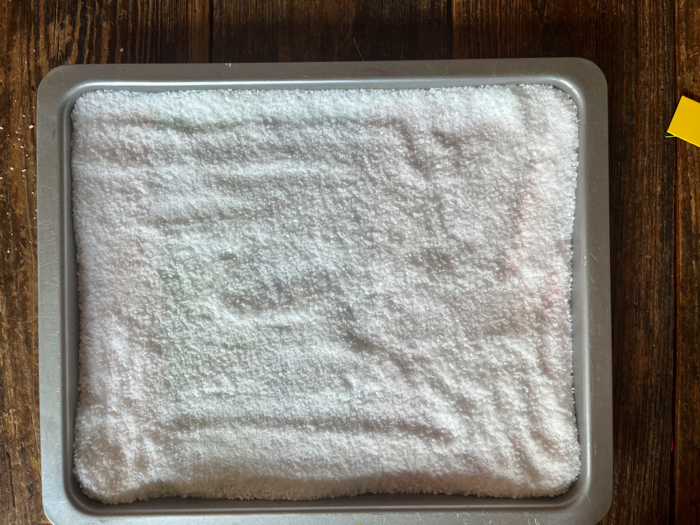
Fill the tray with just enough salt to barely cover the bottom, around ¼ of an inch. You don’t want the salt so thick that your child struggles to write in it.
Time to Play
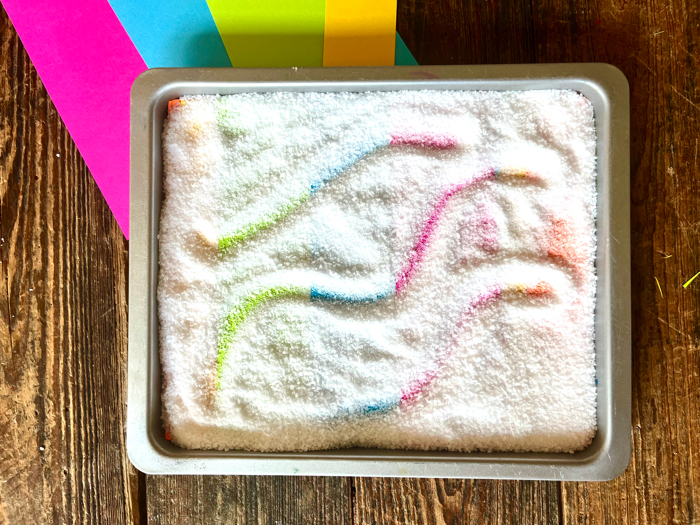
Once your salt tray is done, you’ll be dying to let your little one dig their fingers in it. Here are a few ways to let them play and learn with this Color Surprise Salt Tray:
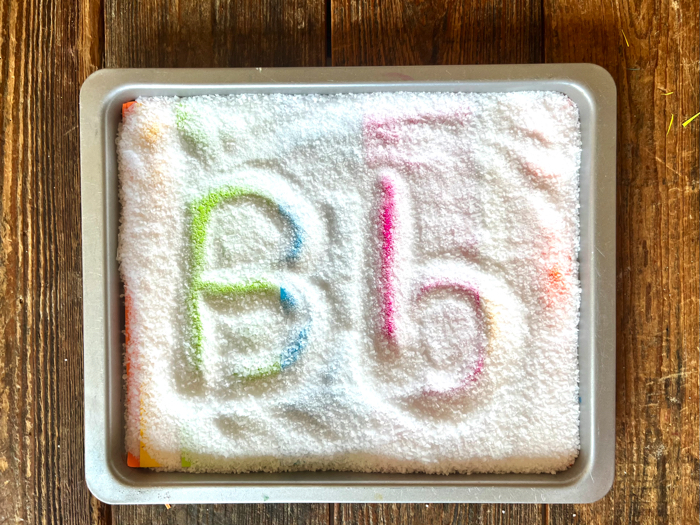
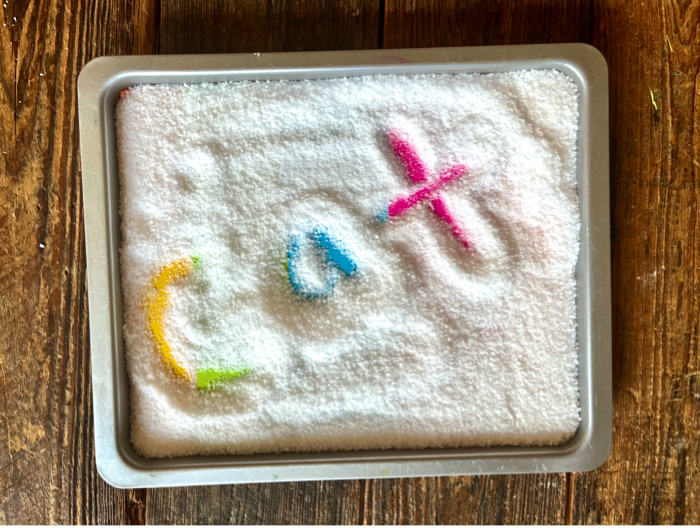
Letter Formation
One of the ways we love to use salt trays is for letter formation. Pencils can be hard for preschoolers to use until they’ve further developed their pincer grasp. Forming letters using their fingers is much easier.
I’ll often introduce a new letter by writing it with bath paint, drawing it on the ground with chalk, or drawing it in a salt tray. You can also take this opportunity to practice the sounds the letter makes or draw pictures in the salt of objects that start with that letter.
Name Writing
It’s a huge accomplishment for a child to be able to spell their name. Learning to correctly name and form letters is a difficult skill to master. Practicing name writing in a salt box eases frustrations for kids who struggle with handwriting.
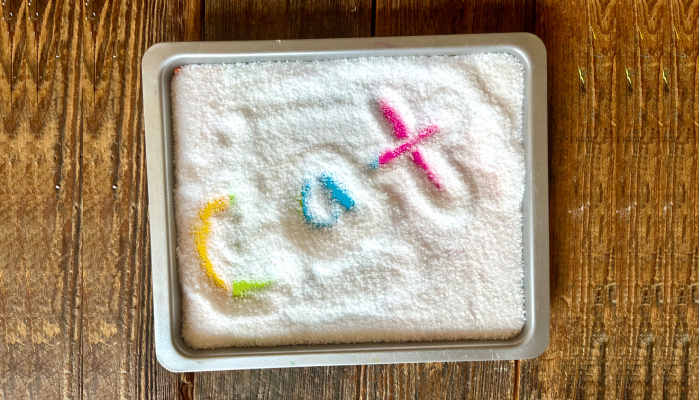
CVC Word Building
As children learn to read, they often begin by sounding out simple words following a consonant-vowel-consonant pattern. These words like cat, fan, or pig are easy to write using a salt tray. Try calling out a CVC word and having your child write it in the box.
If your child needs more help with CVC words, try a fun game like CVC Word Snowball Toss. Hands-on activities will help your child make the connection between letters and sounds.
Sight Word Practice
Sight words are high-frequency words that beginning readers often struggle with. Memorizing these words helps reading flow smoothly. Try prompting your child to write sight words in the tray as they say them.
This activity is one of many dyslexia word games that make memorizing sight words easier. The more hands-on the learning game, the more likely the lesson will stick.
Shape Formation
Shape recognition is an important skill for preschoolers to master. Learning the difference between triangles, rectangles, and squares can be tricky. You can make memorization more interesting by allowing them to draw the shape in the salt.
A salt tray is just one material for this hands-on approach to learning shapes. You might also try painting the shapes with watercolors, drawing the shapes with sidewalk chalk, or making a rainbow playdough cutting station and having your child mold the shapes.
What can I use instead of salt?
You can use a variety of other materials instead of salt. Play sand, flour, or cornmeal would all work. I would avoid sugar, as it could cause a sticky mess if your child tries to taste it.
What else can we add to the Color Surprise Salt Tray?
Your child is likely going to want to play and experiment with the salt tray after using it for handwriting practice. I always allow for a few minutes of play either before or after a lesson, which can serve as motivation for completing the handwriting practice.
To make the free-play more fun, try adding a few simple tools. You can use spoons, forks, sticks, or other items to move or scoop the salt. Just be sure to instruct your child not to fling the salt outside of the box.
What are the benefits of playing with salt trays?
Salt trays have numerous benefits for the child who is learning to write. Here’s why they are so effective:
Builds Fine Motor Skills
Writing requires fine motor skills. For some children, using these fine motor muscles is tedious and exhausting. Providing fine motor activities for preschoolers as often as possible will help strengthen these muscles.
Salt trays are a great fine motor tool for children who could benefit from an easier activity that builds confidence. Moving the salt across the tray doesn’t require much fine motor strength.
Provides Sensory Exploration
Your child explores the world through sensory input. A salt tray provides tactile input to help a child form a mental picture of letters and shapes. Many children enjoy the feel of the salt on their fingertips as they push it against the paper.
Makes Memorization Easy
As your child slowly forms the letters in the salt tray, it may speed up memorization. The hand-eye coordination required to create the letters makes it stick in the brain. To add another piece to the memorization, have them say the name of the letter while they draw it.
If you’re wondering how to teach a child with dyslexia the letters of the alphabet, a salt tray may help. Try having your child form commonly flipped letters or words in the salt. Using a variety of materials for letter writing will keep a child with dyslexia from getting bored.
Calms Emotions
Items like sensory bottles, sensory swings, or salt trays are just a few activities to offer an upset child. Whether your child is experiencing a sensory meltdown or is overtired, these activities may help soothe and comfort your child until their emotions settle.
What other ways can I enrich this activity?

- Used Book in Good Condition
- Bill Martin Jr. (Author)
- English (Publication Language)
- 32 Pages – 08/01/2000 (Publication Date) – Beach Lane Books (Publisher)
Here are a few of our favorite activities for learning how to form letters:
- Read the book Chicka Chicka Boom Boom by Bill Martin Jr.
- Make Tactile Alphabet Cookies with Sugar Cookie Playdough
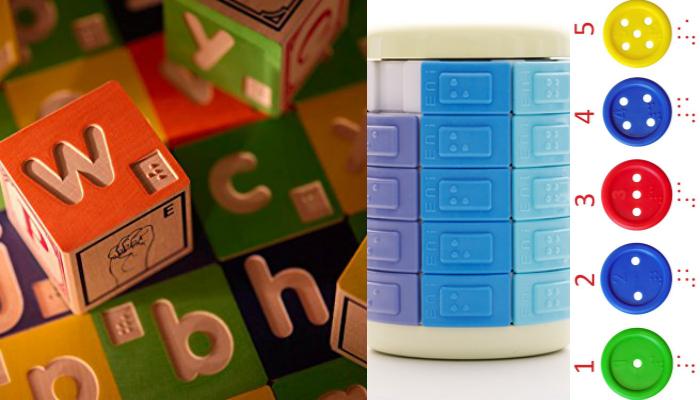
- Make Braille Alphabet Tubs
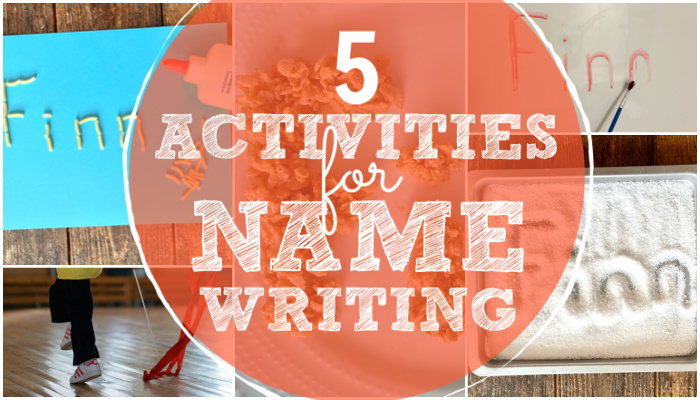
- Try one of these 5 Activities for Name Writing
Related Posts
Braille and Literacy
Making Braille Fun: Introducing Handi Exceller’s Innovative Learning Tools for Blind Students
Handi Exceller was born from a simple idea: learning braille should be both fun and accessible. The company creates interactive and gamified ways to teach braille.
Braille and Literacy, Toys, Visual Impairment
24 Braille Toys for Kids Who are Blind
Everything from alphabet blocks to raised line coloring pages and activity books to puzzles to card and board games... and so much more! And it's all in braille ready for...
Braille and Literacy
5 Activities for Name-Writing
Learning to write your name is an important preschool skill. Make the task fun with one of these 5 activities for name-writing!