Make Your Own Candy Man Wheelchair Costume
This post may contain affiliate links; please see our terms of use for details.
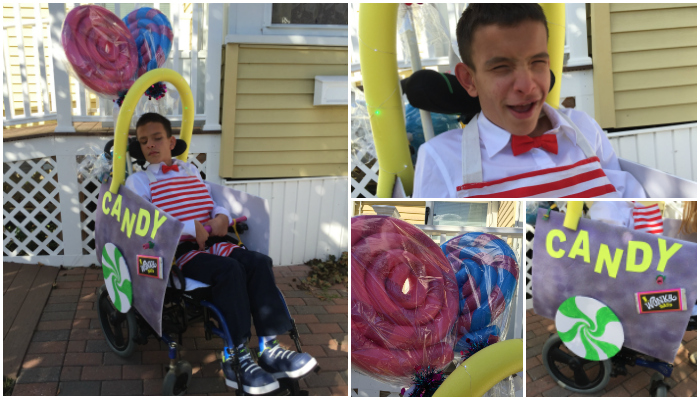
It’s Halloween creative time again! This year we thought we’d play with Ivan’s love of candy as we were trying to come up with ideas for his costume. Yes, Ivan likes to eat candy (especially peanut butter cups), but actually one of his favorite things to do during Halloween is give candy to his friends and neighbors.
He’s also a big fan of The Candy Man Can song from Willy Wonka and the Chocolate Factory so that gave me an idea…
What if Ivan dresses up as the candy man and his wheelchair becomes a candy cart? Then he can give and receive candy all day long on October 31st!
What You’ll Need
For the candy cart:
- 2 large pieces of thick poster board
- 2 small pieces of thick poster board
- 3 PVC pipes cut to 25″
- 5 pool noodles
- Cellophane
- Assorted ribbons and bows
- Glitter duct tape
- LED string lights
- Glitter spray paint
- Styrofoam ball
- Noisy tube
- Velcro cable ties
- Paper fasteners
- Wonka Bar
For the candy costume:
- White long sleeved shirt
- Black pants
- Red bow tie
- Red and white striped apron
I also think a straw hat would look pretty adorable, but Ivan will not tolerate hats so we skipped it.
Making Your Candy Man Costume
This may be my most labor-intensive costume yet, but I was still able to get it done in just about 2 days. Here’s how I did it…
- First I spray painted the larger poster boards with purple glitter spray paint. You could also just buy purple poster board, but Ivan really liked the feel of the glitter texture. Pick out a size of poster board that fits to your child’s wheelchair best.
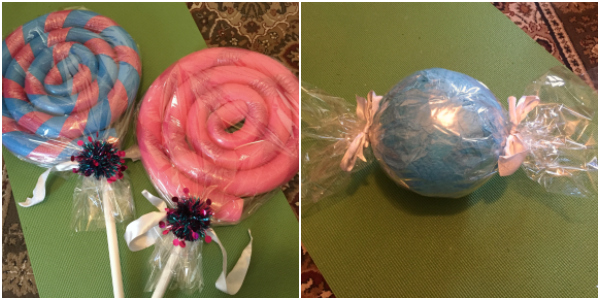
- Then I set to work making the giant lollipops and hard candy. For the lollipops, I followed the directions from this Giant Lollipops DIY video on YouTube. The only suggestions I would add to their directions is that I had to reinforce the connection of the two pool noodles with clear packing tape or they wouldn’t stay together. I also used clear packing tape to keep the whole thing together after it was wound up. The tape isn’t at all visible after the lollipops are wrapped in cellophane.
- The giant hard candy is just a styrofoam ball wrapped in cellophane. I had the brilliant idea to spray paint the ball the same color as the poster board, but alas I ran out of paint, so I added color to the ball by wrapping it in some tissue paper before adding the cellophane.
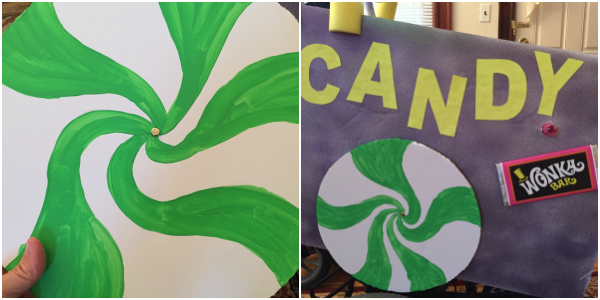
- The wheels for the candy cart are just cut out of the smaller pieces of poster board. Cut out a circle then draw lines similar to a peppermint design. I used green paint to fill in the color, but you could use markers or crayons instead.
- I put the cart together by attaching the wheels with paper fasteners. Now the wheels can actually spin! I also cut out the letters for the word CANDY in bright yellow paper and glued that to the cart. I chose bright yellow on a purple background hoping the letters would be easier to see by Ivan’s friends with low vision. You can download the letter templates here (I printed mine at 50% so they fit on the poster board). I also added a real Wonka Bar to the cart!
- To put it all together, I used Velcro cable ties (my favorite Halloween costume accessory) to attach the boards to Ivan’s chair. Where you place the holes and ties on your boards will depend on how your child’s chair is constructed. I also added a PVC pipe wrapped in glitter duct tape and a noisy tube to the front of the cart. This doesn’t really help to keep the cart together, but Ivan just loves the texture!
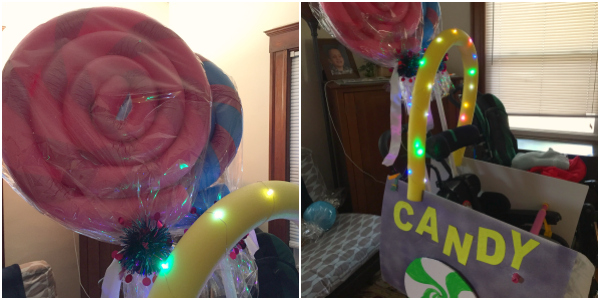
- The lollipops and hard candy attached to the back of the chair (agin with Velcro ties) then I used one more pool noodle to create an arch over the cart. I had some LED string lights leftover from last year’s jellyfish costume that I think really bring the whole thing together.
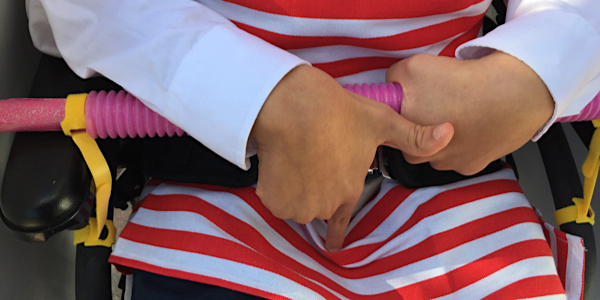
Ivan is really going to enjoy trick-or-treating this year and handing out candy to his friends at school! We always try to incorporate Ivan’s interests while keeping the costume he wears relatively simple. He’s not the type of kid who likes to wear hats or gloves or masks, so his attire needs to be sensory friendly. What sort of accommodations do you make for your child at Halloween? I’d love to hear your ideas in the comments below!
Related Posts

Holiday Crafts and Ideas
Should Parents Lie to Their Kids About Santa Claus?
Should parents lie about Santa? Find out how to balance trust, magic, and holiday traditions right here!

Holiday Crafts and Ideas, Special Needs
5 Tips for a Peaceful Thanksgiving with Your Child with Disabilities
Thanksgiving can be a joyful yet overwhelming holiday, especially for families with children who have sensory, motor, or dietary needs.
Holiday Crafts and Ideas
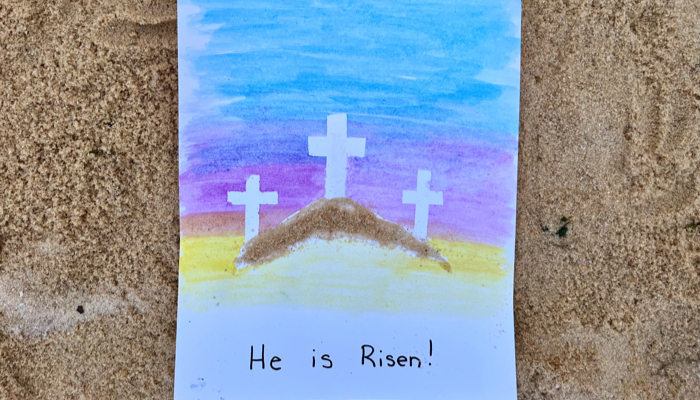
Resurrection Water Color Craft
Celebrate Easter with this Resurrection Water Color Craft, perfect for little ones. They’ll love painting the beautiful sky and adding sand to finish it off.