Easy Playdough Recipe With No Salt
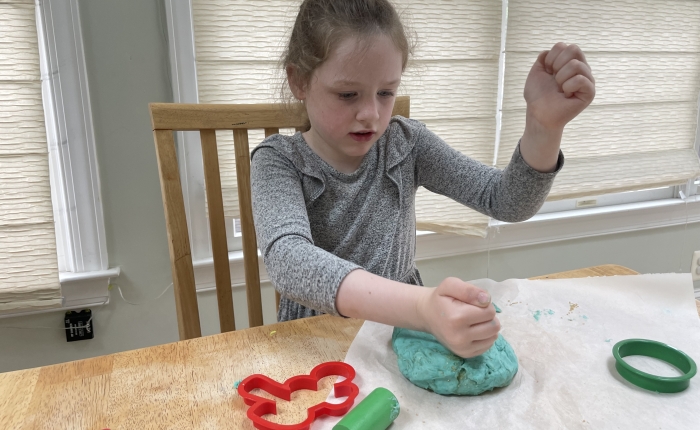
- Playdough without salt is ideal if your child puts things in their mouth, has a salt sensitivity, or if you just don’t have enough salt on hand.
- Homemade playdough without salt requires no cooking and minimal ingredients.
- Playdough is fantastic for sensory play and encourages little ones to work on their fine motor skills and imagination.
Whether you’re out of salt or prefer not to use it, this homemade playdough recipe is for you. It’s easy to go to the store and buy playdough, but it’s much more fun to make it at home! It’s also a great way to put what you want in the recipe.
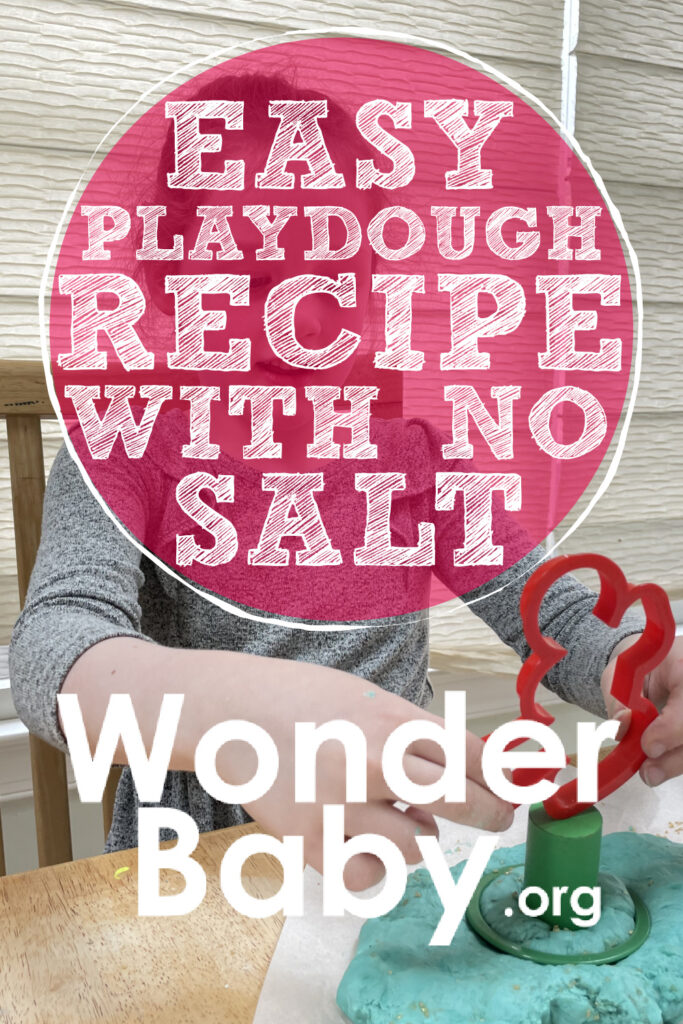
The best playdough recipe with no salt requires minimal prep time, allowing you to focus on the fun that will follow! My daughter enjoyed being part of the process from beginning to end—well, maybe not cleaning tiny playdough crumbs off the floor. The grandparents were in town, so it was a fun activity for them to do together.
Regardless of their enthusiasm for cleaning, your kids will be eager to make this easy playdough recipe that encourages sensory play and sparks creativity.
DIY No-Salt Playdough: What You’ll Need
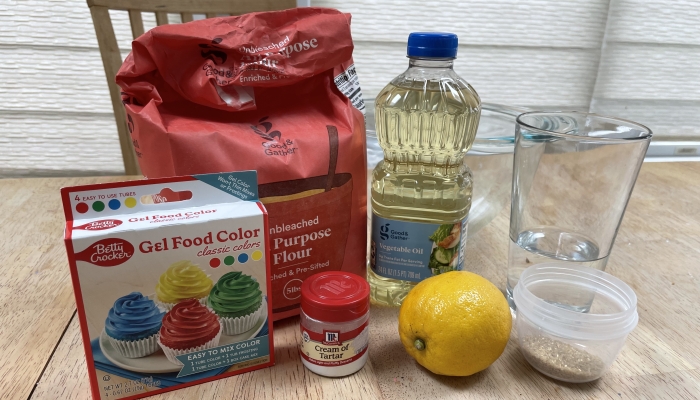
With this easy recipe, you can make homemade playdough with a few things from around the house and a quick trip to the dollar store.
Ingredients:
- Half cup of warm water
- 3 tablespoons vegetable oil
- Squeeze of lemon juice (optional but adds scent and helps preserve playdough)
- 1 tablespoon cream of tartar
- 2 cups plain flour (self-raising flour or all-purpose flour)
- 4-5 drops of liquid food coloring or food coloring gel (optional)
- Glitter or sprinkles (optional)
Other materials:
- Measuring cups
- Mixing bowl
- Spoon
- Parchment paper
With these simple ingredients, your kiddos will be on their way to creating their own no-salt playdough for hours of fun and creative play.
Step-by-Step Instructions: Salt-Free Playdough Recipe
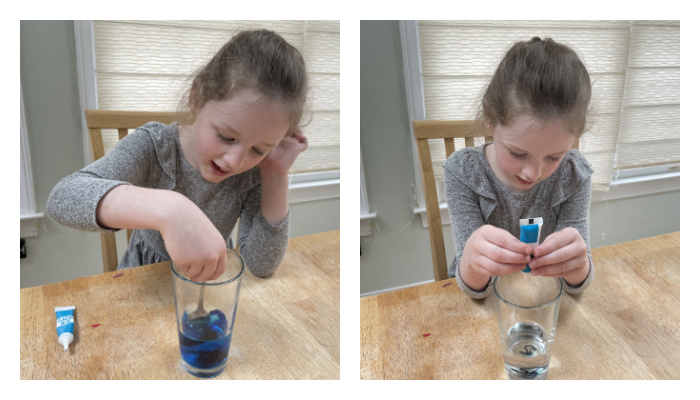
Here are step-by-step instructions for making playdough:
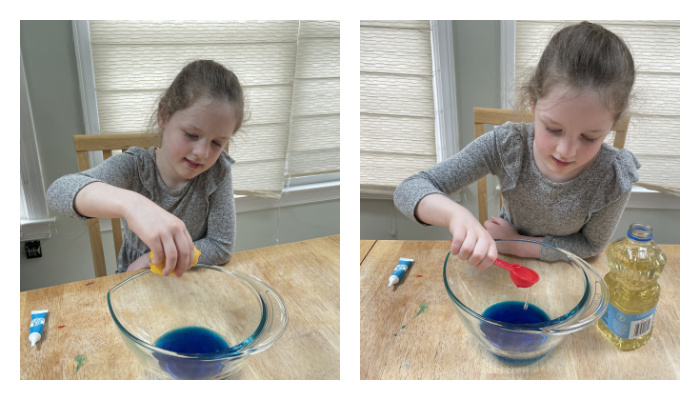
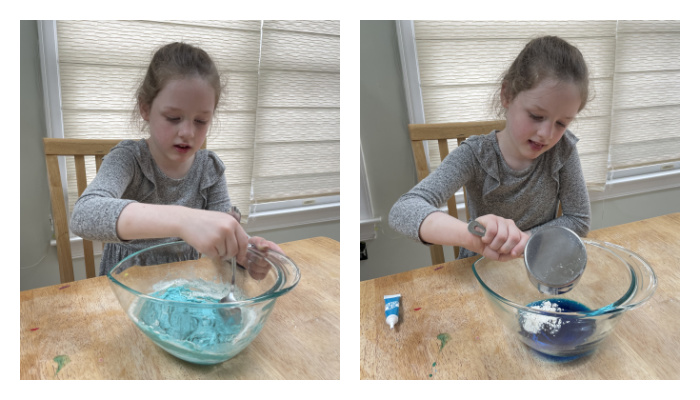
Step 1: Mix your wet ingredients in a mixing bowl. (If you’re adding food coloring, add it to the water before mixing with other ingredients.)
Step 2: Gradually add your flour and cream of tartar to the wet ingredients, mixing everything until it’s combined. Your mixture may look lumpy, but continue stirring until a dough begins to form.
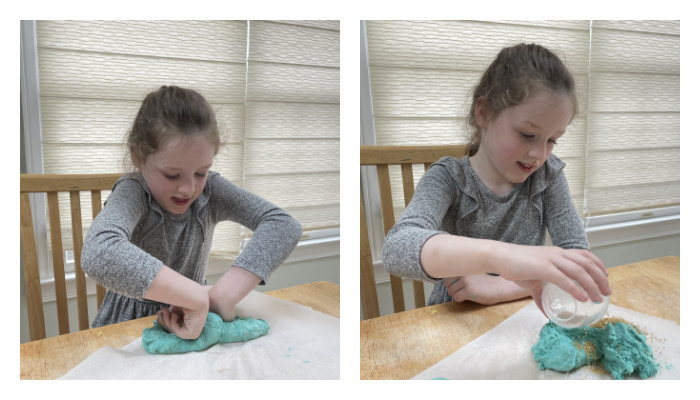
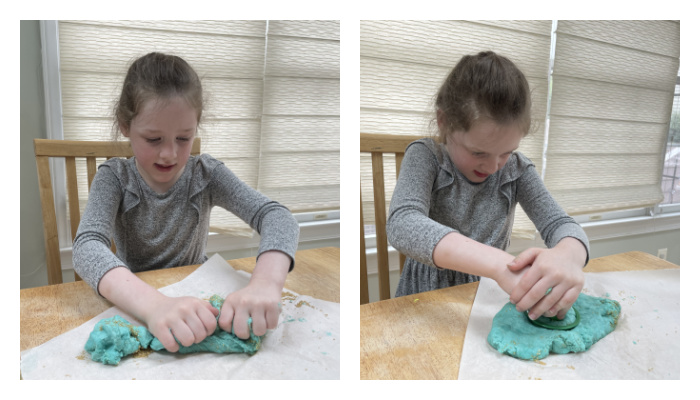
Step 3: Transfer your dough onto parchment paper and knead it into a big ball until it is smooth and pliable. If it’s sticky, add more flour. If it’s too dry, add a sprinkle of water.
Step 4: Divide your dough and add optional glitter before kneading back into a ball.
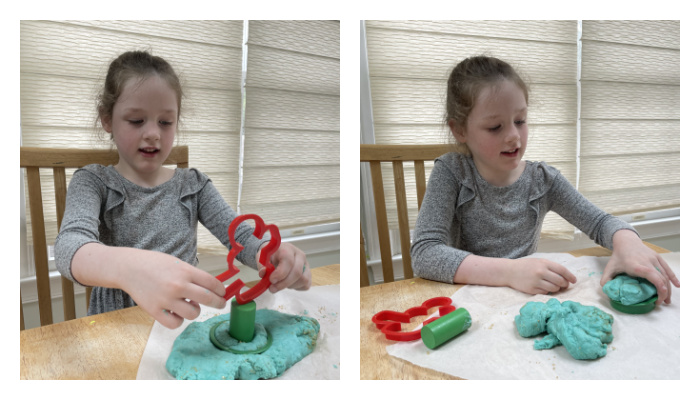
Step 5: Have fun! Encourage your child to play and create with their homemade playdough recipe.
Tips and Tricks for the Perfect No-Salt Playdough
While this salt-free playdough is pretty self-explanatory, there are always a few things that can make it easier.
- Use warm water to ensure the cream of tartar dissolves to make mixing easier.
- Don’t leave out the cream of tartar; it helps with the playdough’s texture and elasticity.
- Add your food coloring to the water before mixing with the dry ingredients. (Gel food coloring adds a more vibrant color!)
- Kneading is important to help distribute the ingredients evenly and create a smooth and pliable dough.
- Add different textures to the playdough, like rice, oats, or lentils.
- Store playdough in an air-tight container and add a few drops of water if it dries out.
Remember, sometimes practice makes perfect, and your first round of playdough may not look ideal. Just keep swimming!
Common Issues with No-Salt Playdough
Generally, salt helps keep playdough fresh, so you’ll need to store it correctly to prevent the mixture from hardening.
When making playdough without salt, consider the following potential issues and solutions:
| Problem | Solution |
| Dry or crumbly | Knead in just a tiny bit of water until it becomes smooth. |
| Sticky | Add flour until you reach the desired consistency. |
| Lack of elasticity | Add more cream of tartar to the dough and knead thoroughly. |
| Texture issues (gritty or uneven) | Ensure you properly mix the ingredients and knead the dough to ensure everything is evenly distributed. |
| Mold growth | Store properly between use and avoid adding extra moisture. |
Note: You may also want to inspect leftover playdough before your kids play with it to ensure there’s no mold.
Benefits of Playdough for Kids
Admittedly, I haven’t always been on “team playdough” because it sticks to my floor and makes its home on the bottom of my shoes. However, my kids can play for hours with playdough without me hearing the dreaded “I’m bored!”
According to the National Association for the Education of Young Children11. Playdough Power. NAEYC. https://www.naeyc.org/our-work/families/playdough-power, playdough helps develop:
- Fine motor skills.
- Social and emotional development.
- Creativity and imagination.
- Language and literacy.
- Physical development.
I find it amazing that playdough has that much of an influence on a child’s development!
Sensory Play Ideas With No-Salt Playdough
Sensory play provides opportunities for your child to engage their senses and promotes fine motor skills, cognitive development, and creativity in an interactive and fun way.
There is no shortage of sensory play ideas with no-salt playdough, but it always helps to have a few ideas in mind before you begin. Here are some of my favorite ways to play with play dough.
- Use cookie cutters to make various designs and shapes.
- Create imagination games to spark creativity and encourage language development.
- Discuss the texture and feel of playdough.
- Add essential oils to the playdough to engage the sense of smell.
- Fill a sensory bin with playdough and add various objects for your child to explore.
- Create themed playdough stations based on your child’s interests or learning subjects.
Playing with playdough is one of the best indoor activities for toddlers, especially on a rainy or hot day!
How to Keep No-Salt Playdough Fresh
The best way to keep no-salt playdough fresh is to store it in a Ziploc bag or airtight container.
Here are some additional tips for keeping your playdough fresh:
- Keep your playdough away from moisture, which can cause it to become sticky or prone to mold growth.
- Store your playdough in a cool, dry place away from direct sunlight, which can dry it out.
- Rotate your homemade playdough to ensure they all get used and don’t sit for too long.
- Label your playdough as a reminder of when you made it to keep an eye on freshness.
- Divide your playdough into smaller portions before storing to prevent the entire batch from drying out.
Why Choose No-Salt Playdough?
One of the most significant benefits of using a playdough without salt recipe is if your little ones still put everything in their mouth. While it wouldn’t hurt them, it would taste disgusting.
However, if you have babies or toddlers running around, you’ll appreciate that if they eat the playdough, you’ll simply have a colorful diaper change on the horizon.
FAQs
What is the difference between a no-salt playdough and a regular playdough?
The main difference between no-salt and regular playdough is that salt is not one of your ingredients. A playdough recipe without salt is ideal if your child has salt sensitivity or you don’t want to add it. Frequently, making a no-salt playdough recipe comes down to personal preference.
How long does homemade playdough last?
Generally, homemade playdough lasts 2–3 months if stored in an airtight container or sealed Ziploc bag. If your playdough dries out, add a little water and knead it until you get the desired consistency. Don’t add too much water or the dough will become sticky.
References
- Playdough Power. NAEYC. (n.d.). https://www.naeyc.org/our-work/families/playdough-power
Related Posts
Braille and Literacy, Toys, Visual Impairment
24 Braille Toys for Kids Who are Blind
Everything from alphabet blocks to raised line coloring pages and activity books to puzzles to card and board games... and so much more! And it's all in braille ready for...

Holiday Crafts and Ideas
Should Parents Lie to Their Kids About Santa Claus?
Should parents lie about Santa? Find out how to balance trust, magic, and holiday traditions right here!

Holiday Crafts and Ideas, Special Needs
5 Tips for a Peaceful Thanksgiving with Your Child with Disabilities
Thanksgiving can be a joyful yet overwhelming holiday, especially for families with children who have sensory, motor, or dietary needs.