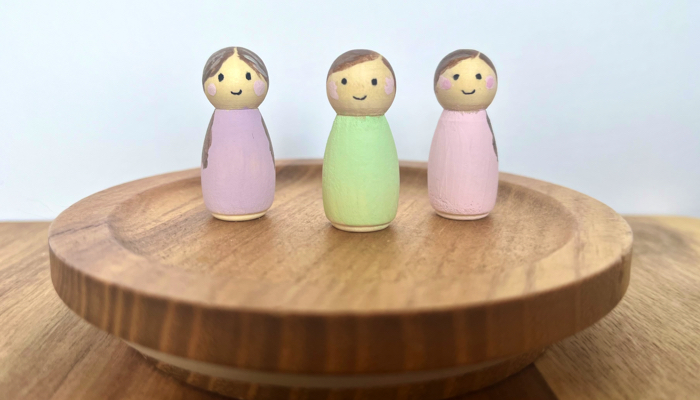
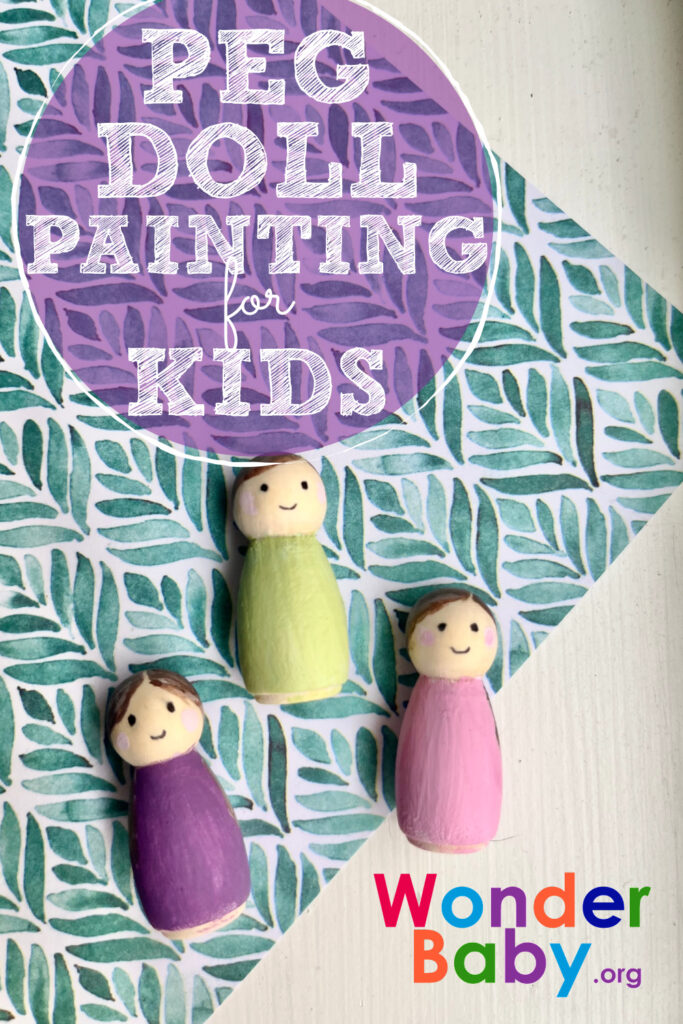
Peg Doll Painting for Kids
This post may contain affiliate links; please see our terms of use for details.
My husband and I have 5 daughters ranging from age 12 years to 5 months. With this many little girls, you can imagine how many dolls we have in the home. My girls have always loved dolls, but recently they’ve become more interested in peg dolls.
Our fascination with these adorable wooden dolls started 2 years ago when we painted peg dolls and turned them into Christmas ornaments. We sold the dolls to friends and family to raise money for a charity. Ever since then, we’ve regularly added peg dolls into our crafting and playtimes.
Peg dolls can be used for a variety of learning opportunities and can be enjoyed by both boys and girls. In fact, peg dolls are popular learning toys in many Montessori schools, along with wooden toddler puzzles and wooden blocks. I often use Montessori toys to support our homeschooling methods and learning objectives.
You only need a few simple items to create a peg doll painting activity for your child. Don’t be surprised if you find yourself painting right alongside them. This is a craft all ages can enjoy!
Peg Doll Painting: What You’ll Need
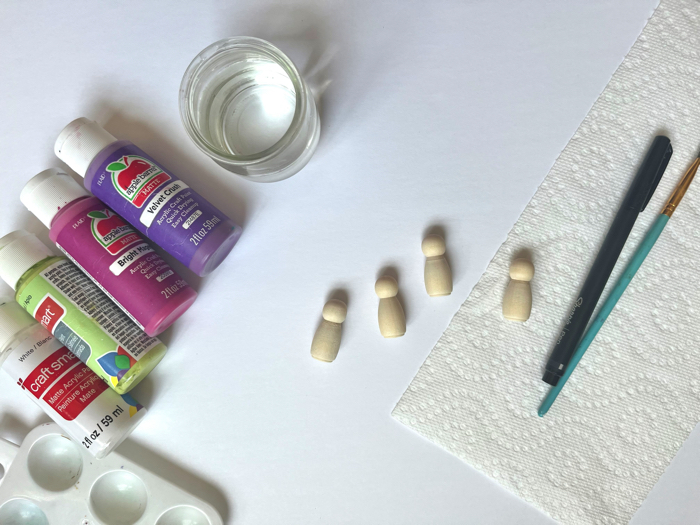
These materials can be purchased online or from your local craft store. You’ll find a variety of options, but I’ll let you know exactly what you need to make it simple.
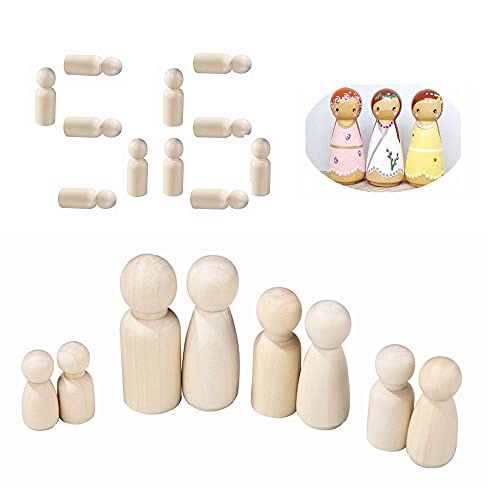
- These dolls are carefully polished from natural wood, with a smooth surface and no finish to maintain durability and stability.
- The composition of wooden nail dolls: 2 fathers(2.55in), 2 mothers(2.55in), 5 sisters(2.17in), 5 brothers(2.17in), 9 brothers(1.69in), 9 sisters(1.69in), 12 baby girls and 12 boys(1.38in) You can use marker, paint and some beads, lace and so on to decorate the wooden man with children.
- You can use marker, paint and some beads, lace and so on to decorate the wooden man with children.
- This is a very suitable family parent-child game, it fully developed the children’s imagination and creativity! Children can count or classify through the dolls’ make-up games, and enhance color recognition and visual experience.
Materials:
- Wooden peg dolls (This set is our favorite for pretend play, but if your child is under 3, these jumbo dolls are a safer size.)
- Acrylic paint
- Acrylic paintbrushes
- Modge Podge (This is optional but will make the dolls last longer.)
- Fine-point sharpie or washable marker (Also optional but might be easier than paint for the eyes and other facial features.)
Other Items Needed:
- Cup of water
- Paper towels
Directions:
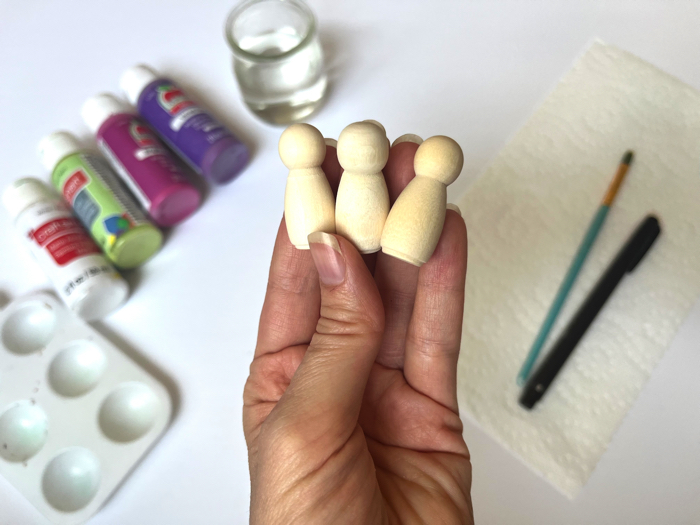
Step 1: Begin by creating a painting surface, free from clutter. Lay out all the supplies, a cup of water, and paper towels.
I like to cover my table with a newspaper or a disposable tablecloth before allowing my kids to paint. This makes the activity stress-free and enjoyable for all of us. You might also want to use painting aprons or old t-shirts for your little ones.
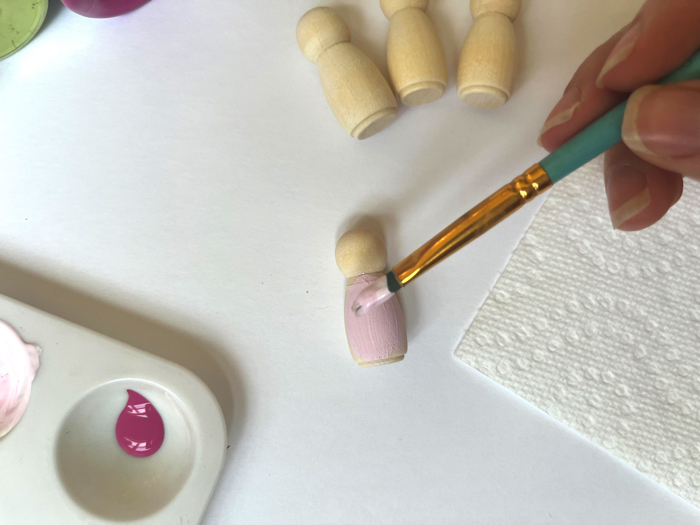
Step 2: Let your child choose the colors they would like to use to paint each doll. Show your child how to use the paint and water cup, and allow them to begin painting.
Helpful Hint: If you’d like to help your child keep the paint off the face of the doll, cover the head of the peg doll in masking tape. You’ll be able to remove the tape when they’re done, leaving a clean line around the neck of the doll. This will allow them to add eyes, cheeks, hair, etc., when they’re finished.
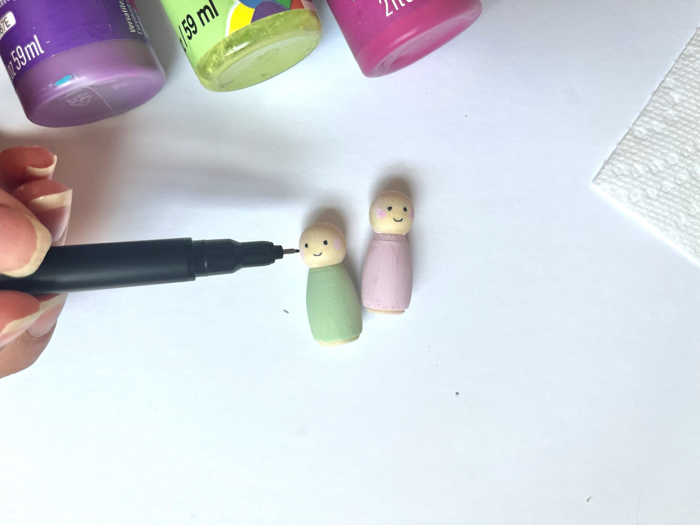
Step 3: Now it’s time to add the facial features like eyes, cheeks, and hair. I’ve found that it’s easier to do these with a permanent marker than with paint, especially for kids. If your child is young, you might even want to do this part for them or leave them without facial features.
Of course, you can let your child paint however they’d like, and that would be cute too! I’ve just found that my kids like them to look realistic. So helping my little ones out with the facial features of the peg doll keeps them from getting frustrated.
For the hair, you can make another outline using masking tape to give your child a guide. Alternatively, you can attach a small flower or bow to the top of the head and leave it without hair. (You’ll want to modge podge first before attaching any bulky items on the doll.)
Step 4: Cover the whole doll in modge podge to seal in the paint and keep it from chipping off. Allow the peg dolls to dry completely before playing with them.
What type of peg dolls work best for this craft?
Peg dolls come in all different sizes, from miniature to jumbo. If your little one is under 3, be sure to get jumbo dolls. This will keep them from becoming a choking hazard.
If your child is above 3, they might enjoy the family packs that include both larger and smaller peg dolls. This will allow your child to create dolls that resemble all members of the family.
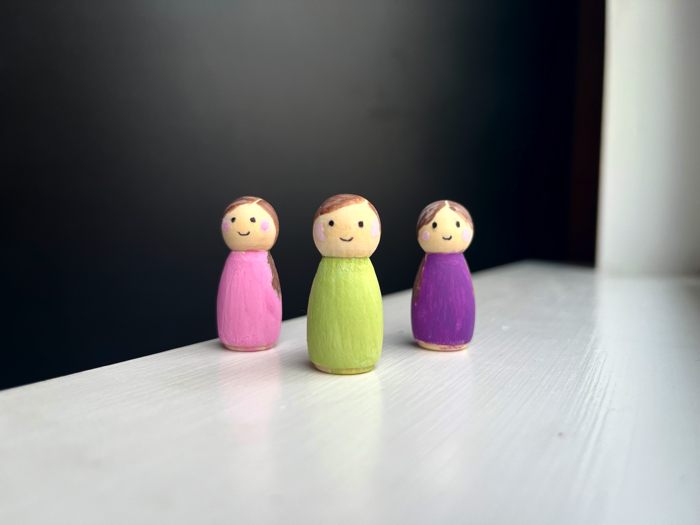
What activities can we do with peg dolls?
Peg dolls can be used for both creative play and learning activities. Here are a few ways we like to use peg dolls in our home:
Counting Practice
Peg dolls are perfect for teaching little ones to count. You can simply line up the dolls and have your child count the line. You could also write numbers on paper cups and have your child put the correct number of dolls in the cup.
Color Sorting
Peg doll color sorting is an easy and fun activity. You can create this activity by painting each doll a different color. Next, paint another wooden item of your choice to match it.
Other wooden items might include wooden pots, bowls, or miniature hats. When you have both sets of wooden items painted, have your child match each doll to the coordinating wooden item.
To make color sorting even simpler, you could paint several peg dolls in each color and have your child sort them by color groups. This is similar to how we color sorted in our rainbow playdough cutting station.
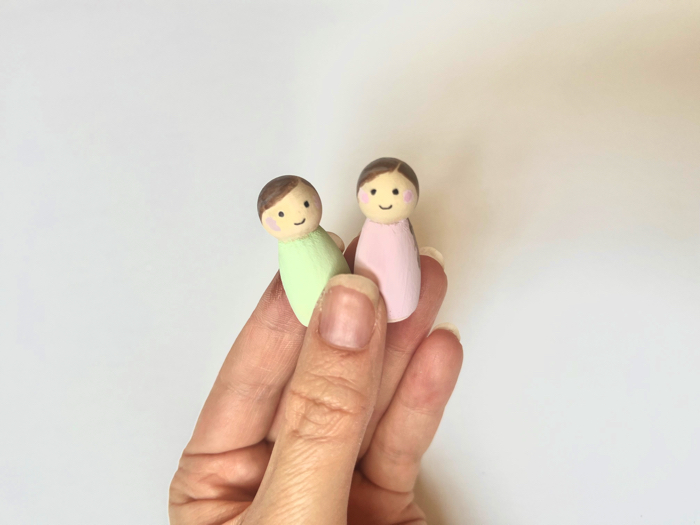
Size Sorting
Learning comparative adjectives like big, bigger, biggest is an important part of language development. You can use peg dolls for language activities for preschoolers by having them describe and sort the dolls.
One easy way to sort the peg dolls is by size. Have your child line up the dolls by height and point to each doll as they say, “big, bigger, biggest” or “small, smaller, smallest.” Other words that describe size include huge, large, tiny, short, and tall.
Playing Family
My kids love to use peg dolls for pretend play. They’ll often bring the peg dolls into the dollhouse and play “family.” Though pretend play may not seem educational, it’s actually a part of the stages of play that help children develop social skills.
What’s the best way to display my child’s peg dolls?
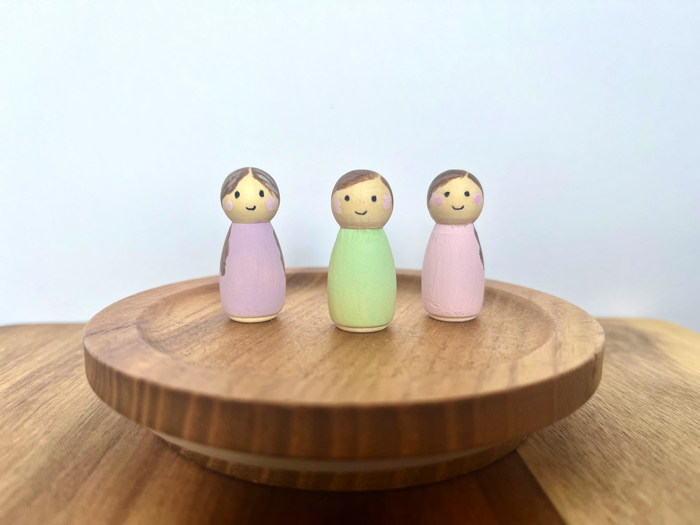
I love finding opportunities to display my child’s artwork, like their adorable watercolor popsicle paintings they recently made. If your child isn’t playing with the dolls, there are a few ways you can creatively display them.
Turn Them Into Christmas Ornaments
We love turning peg dolls into Christmas ornaments. What a great gift these would make for relatives and friends.
When your child’s peg doll is dry, you can attach a small screw eye to the top by drilling a tiny hole. The screw eye will allow you to thread a ribbon through it for hanging. If you don’t have a drill, just use hot glue to attach the ribbon to the top.
Display on a Shelf in Their Room
These dolls look adorable in a little line. In the past, my girls have painted the peg dolls in colors that matched their rooms. We displayed them on a small shelf on the wall.
Turn Them Into Refrigerator Magnets
Using magnetic tape, you can quickly turn these dolls into refrigerator magnets that will make everyone smile. Just attach the tape to the back of the doll. Be sure you use a sturdy magnetic tape that will hold the weight of the doll.
How do peg doll activities benefit my child?
Peg dolls are the perfect size for tiny hands. With a range of activities, there are many benefits your child can gain from playing with them. These include:
- Strengthening fine motor skills
- Strengthening eye-hand coordination
- Building social skills
- Learning empathy
- Creating storylines and characters
- Ann M. Martin (Author)
- English (Publication Language)
- 288 Pages – 09/01/2003 (Publication Date) – Little, Brown Books for Young Readers (Publisher)
What other ways can I enrich this activity?
One of our favorite ways to enrich this activity is by making a shoebox dollhouse to go with it. With an old shoebox and pretty scrapbook paper, you can create a miniature dollhouse.
A great book to go with this activity is The Doll People by Ann M. Martin. You can use it for independent reading or as a family read aloud while everyone paints the dolls.
Related Posts
Braille and Literacy, Toys, Visual Impairment
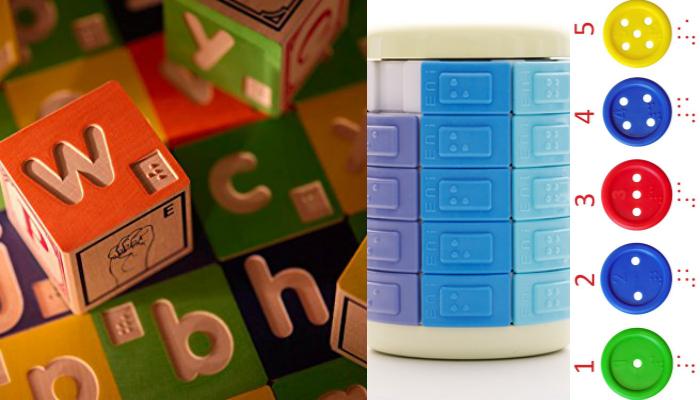
24 Braille Toys for Kids Who are Blind
Everything from alphabet blocks to raised line coloring pages and activity books to puzzles to card and board games... and so much more! And it's all in braille ready for...

Holiday Crafts and Ideas
Should Parents Lie to Their Kids About Santa Claus?
Should parents lie about Santa? Find out how to balance trust, magic, and holiday traditions right here!
Holiday Crafts and Ideas, Special Needs
5 Tips for a Peaceful Thanksgiving with Your Child with Disabilities
Thanksgiving can be a joyful yet overwhelming holiday, especially for families with children who have sensory, motor, or dietary needs.
